How to make a perfect, easy chocolate cake.

This chocolate cake is light, moist and tastes wonderful. It's super easy, keeps well in an airtight tin and is a blank canvas for all your decorating flair. I used 'my chocolate icing of choice' here to fill and ice the cake.
- Prep Time: 30 mins
- Cook Time: 30 mins
- Total Time: 1 hour
- Yield: 12 1x
- Category: Cakes
- Method: Oven baked
- Cuisine: British
Ingredients
Scale
- 275g (10oz) soft butter or margarine, NOT low fat or 'spreadable' + plus a little extra for greasing the tins
- 275g (10oz) caster sugar
- 5 eggs
- 2 tablespoons cocoa powder
- 250g (9oz) SR flour
- 1 tablespoon golden syrup
You will also need -
- 2 x 20cm (8") tins (preferably with loose bases but it's not a disaster if they don't)
- baking parchment
- weighing scales
- a large mixing bowl
- an electric mixer
Instructions
- Preheat the oven to 180°C/160°C Fan/350°F (gas mark 4).
- Begin by lining the tins. Draw around the base of the tin onto the baking parchment and cut out 2 circles.
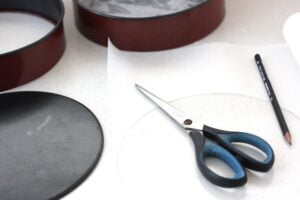
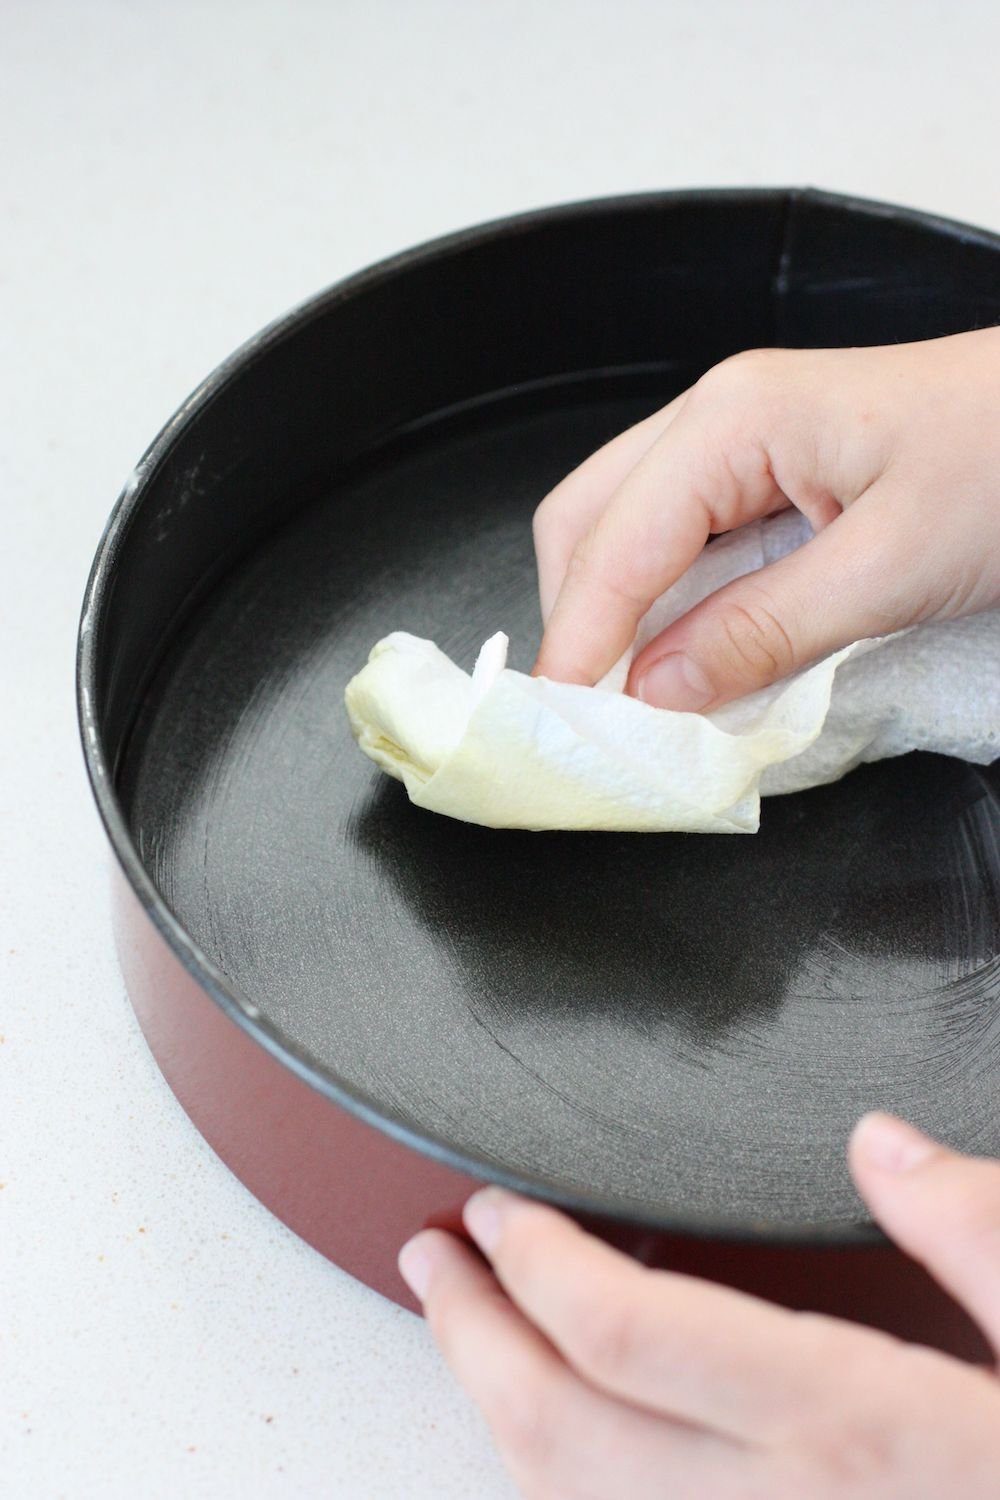
- Grease the base and sides of the tins with a little soft butter or margarine on some kitchen roll or baking parchment. Now 'stick' the baking parchment circles inside the 2 tins.

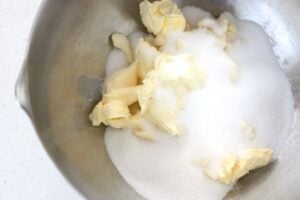
- Weigh the butter and caster sugar into a large mixing bowl.
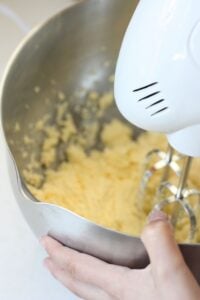
- Now using an electric mixer, cream the butter and sugar until it is light and fluffy and has become a lighter colour. This will take around 5 minutes.
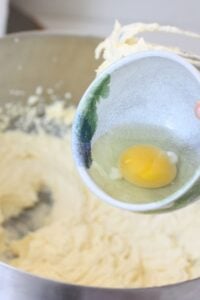
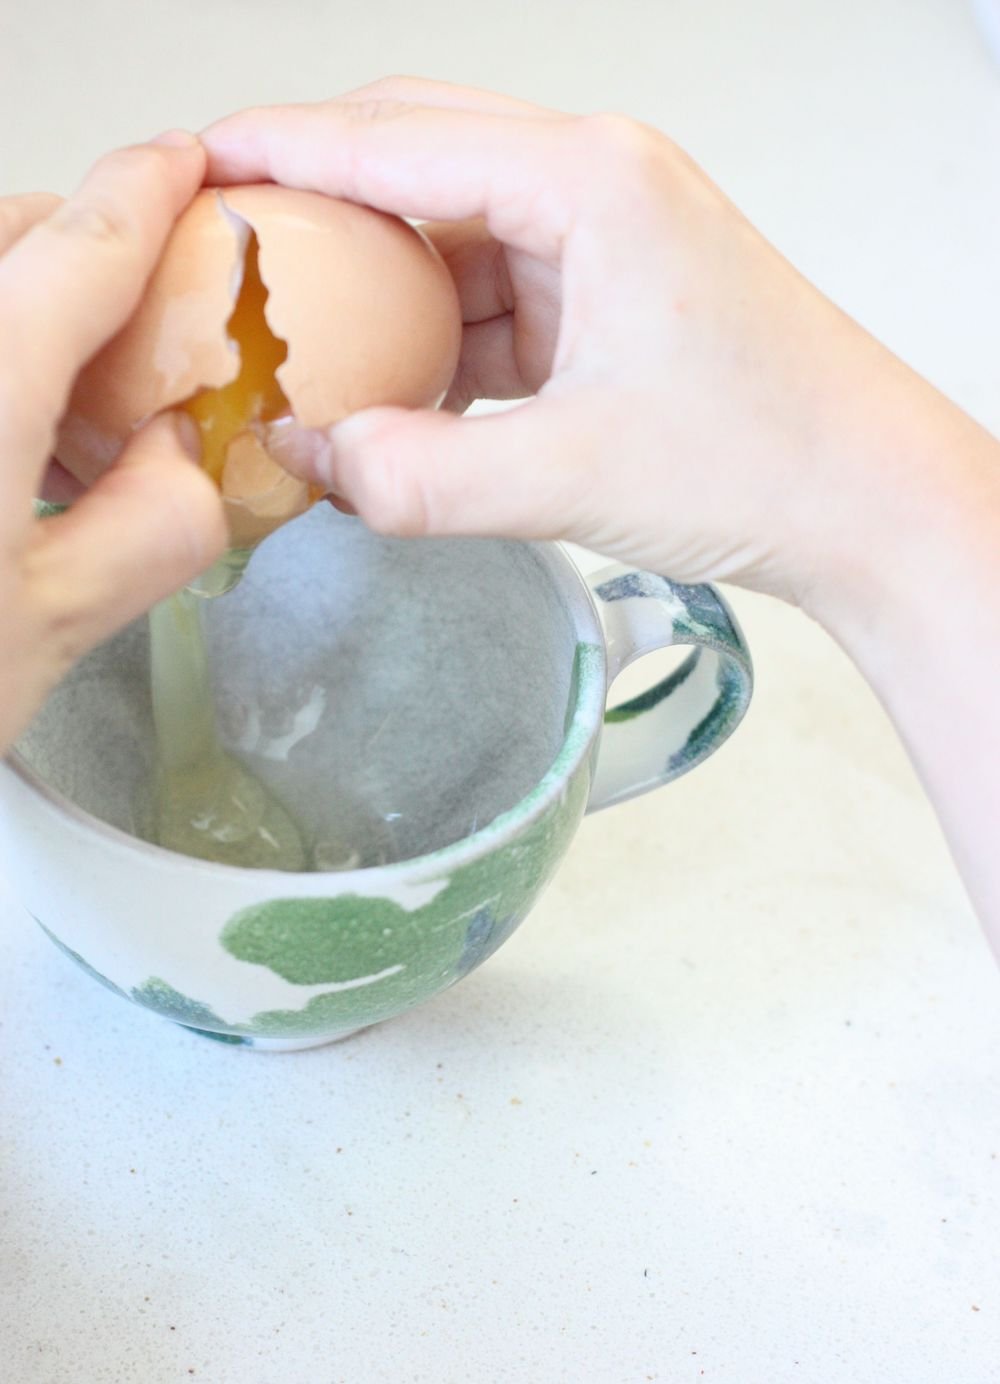
- Break each egg individually into a cup (just in case any of them have gone bad - trust me if does happen). This also means it is easier to fish out any stray bits of shell.


- Add each egg, one at a time to the mixture.
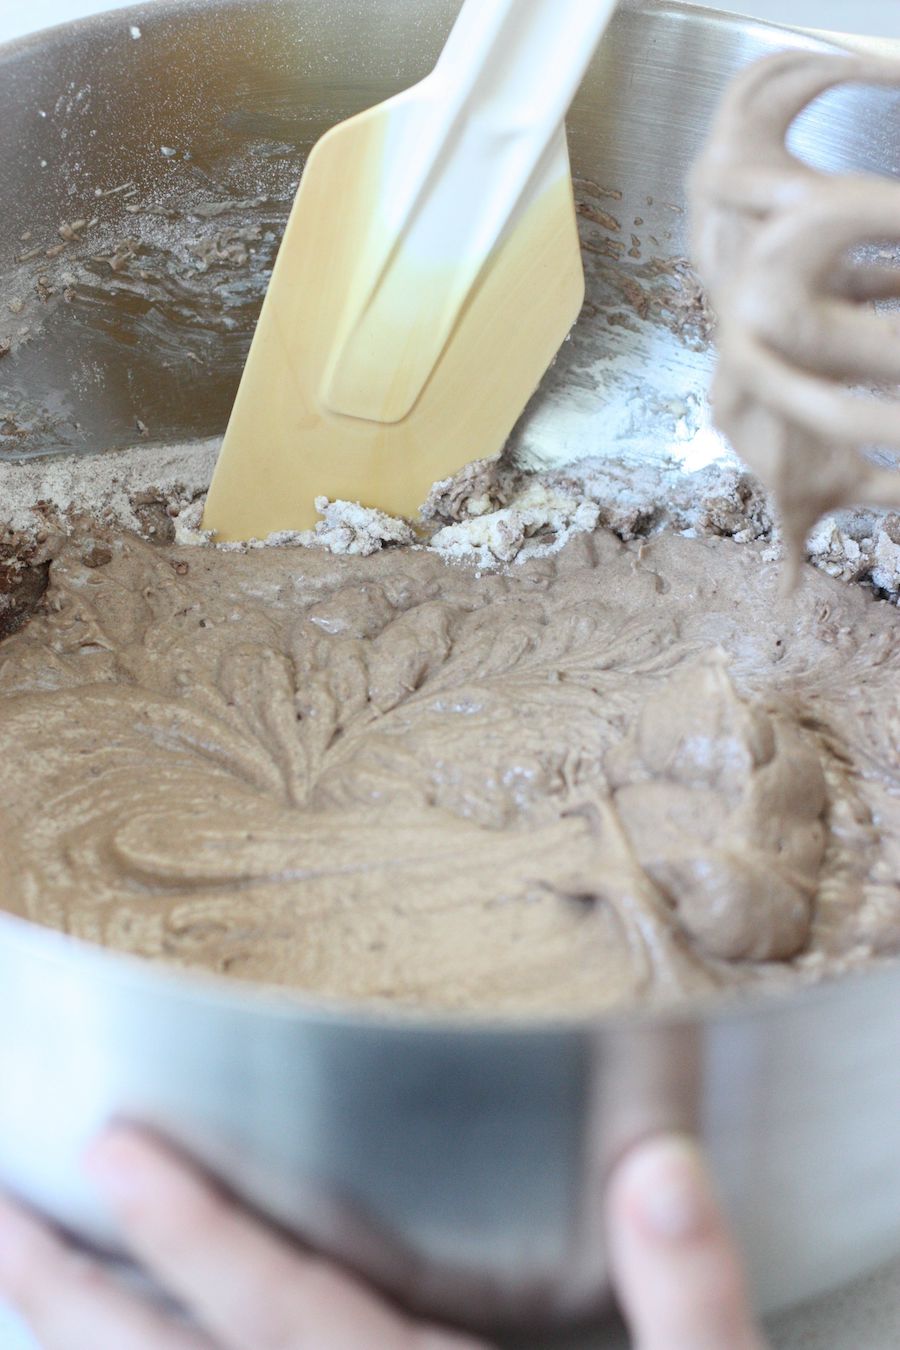
- Now weigh the SR flour into a bowl and add this to the cake mixture with the cocoa powder.
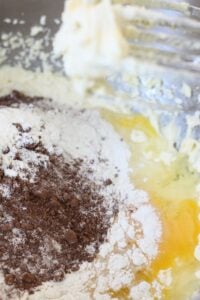
- Beat the mixture until everything is well combined. You may need to use a spatula to 'clean' the edges of the bowl and to make sure that everything is thoroughly mixed.

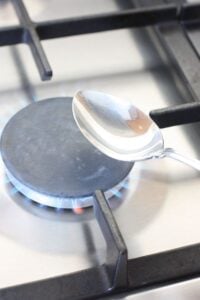
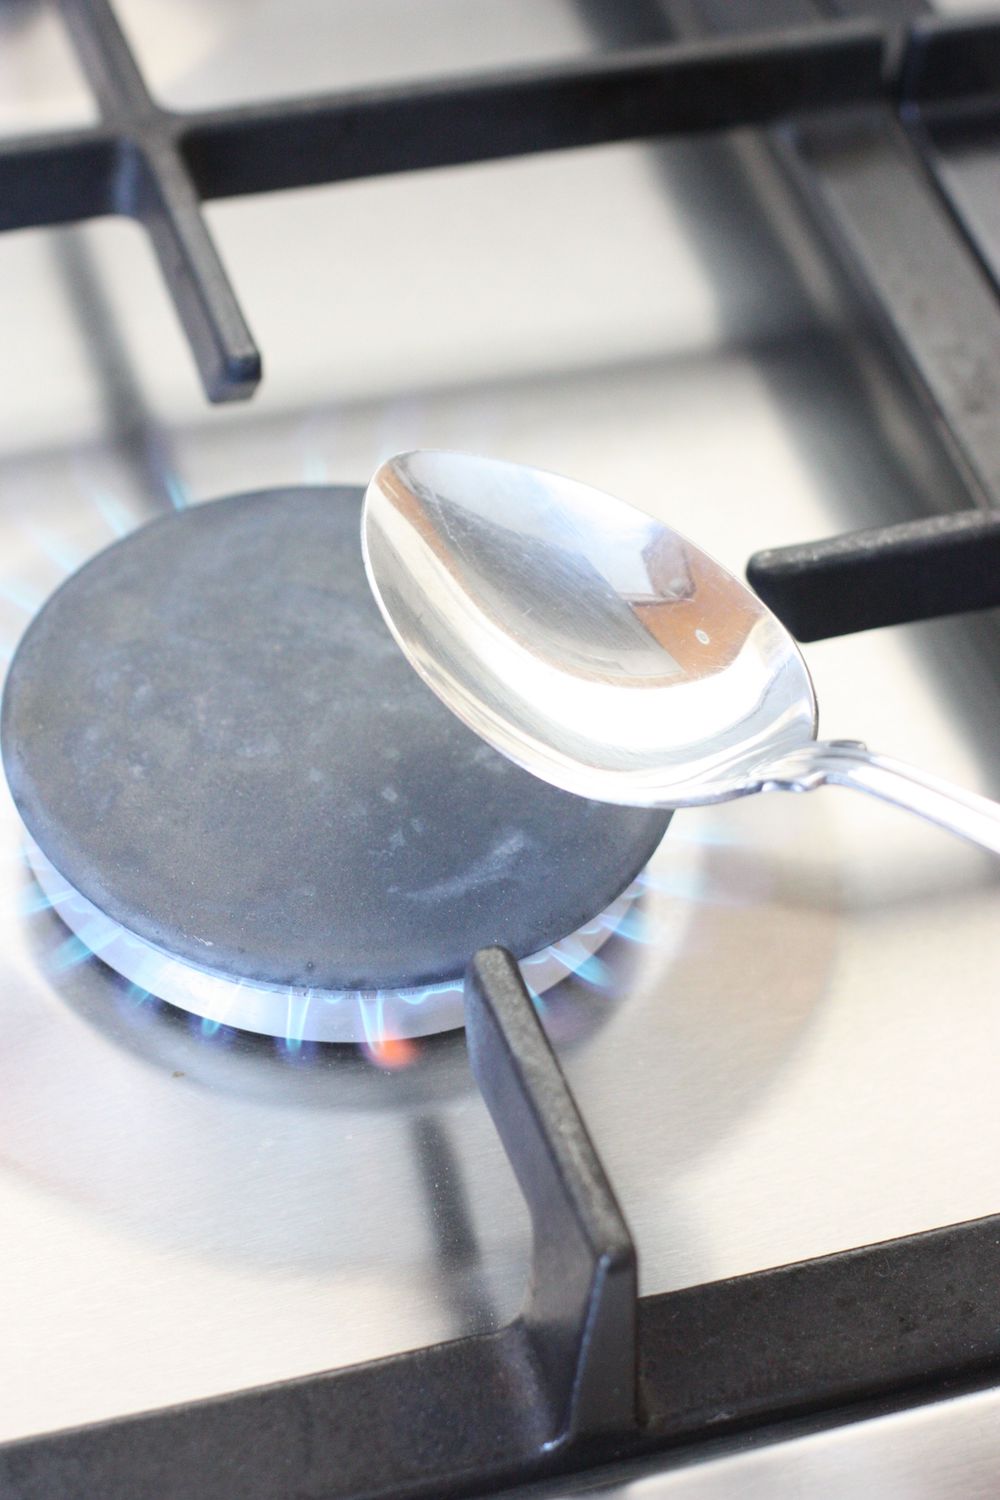
- If you're cooking on gas, warm a metal spoon over a flame on the hob for a few seconds and use the hot spoon to measure a tablespoon of golden syrup into the mixture. Use the same spoon to gently fold the syrup into the mixture. If your hob is electric, just use a teaspoon to ease the syrup off the tablespoon.
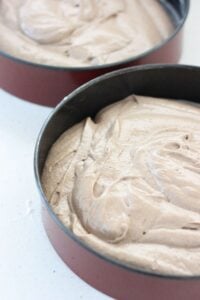
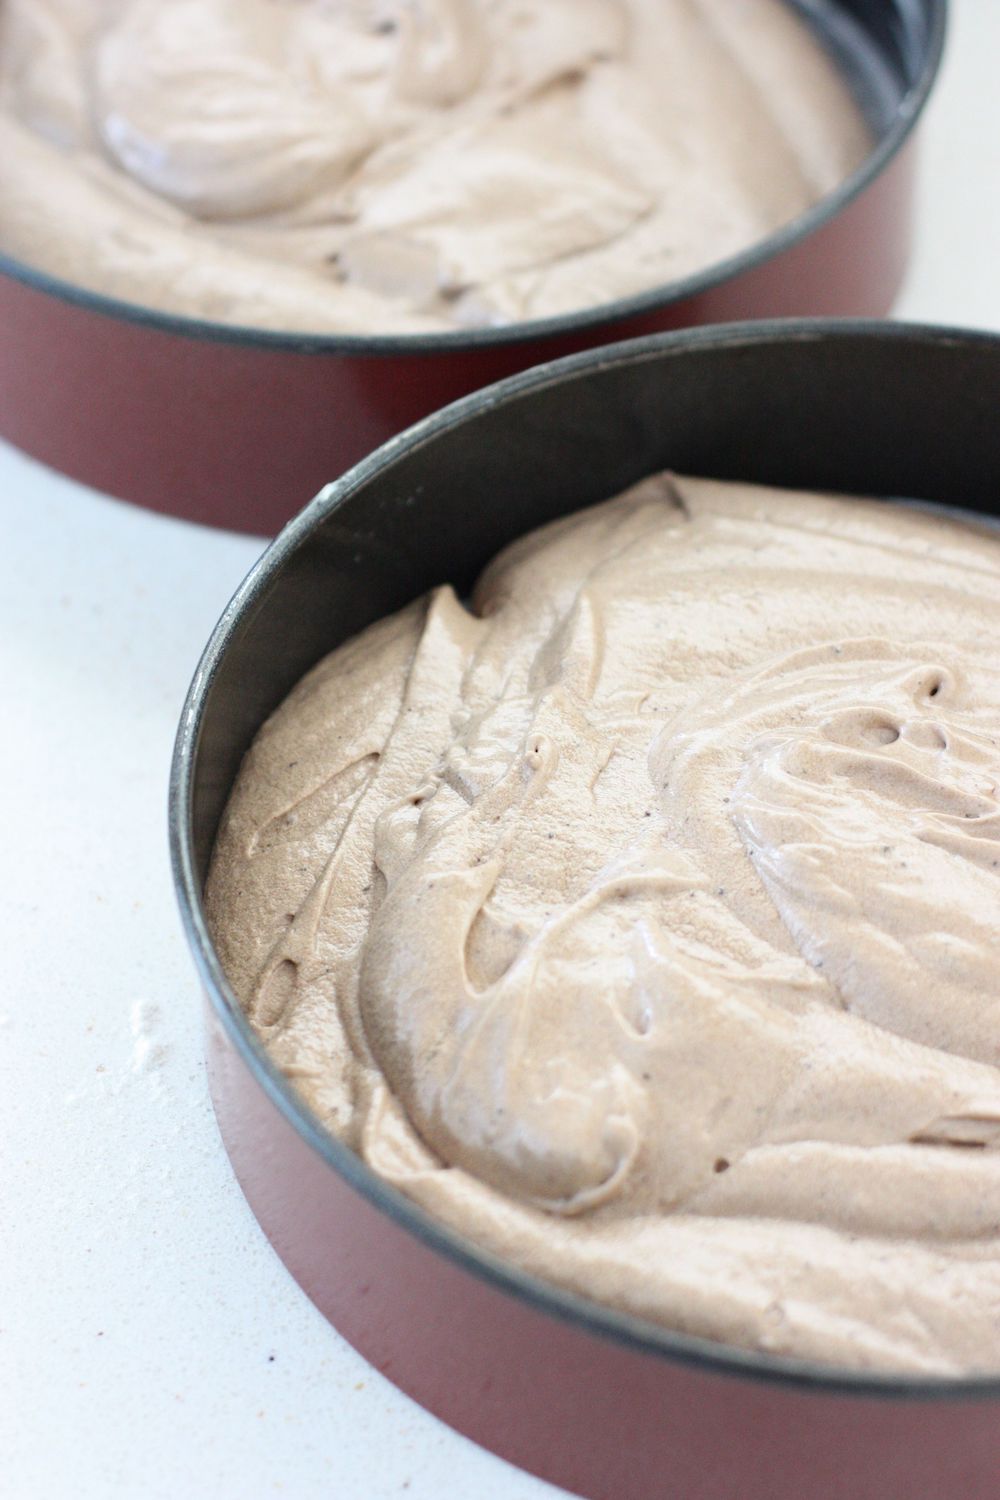
- Divide the mixture between the 2 tins and bake in the oven for 20-25 minutes or until the centre is springy to the touch.
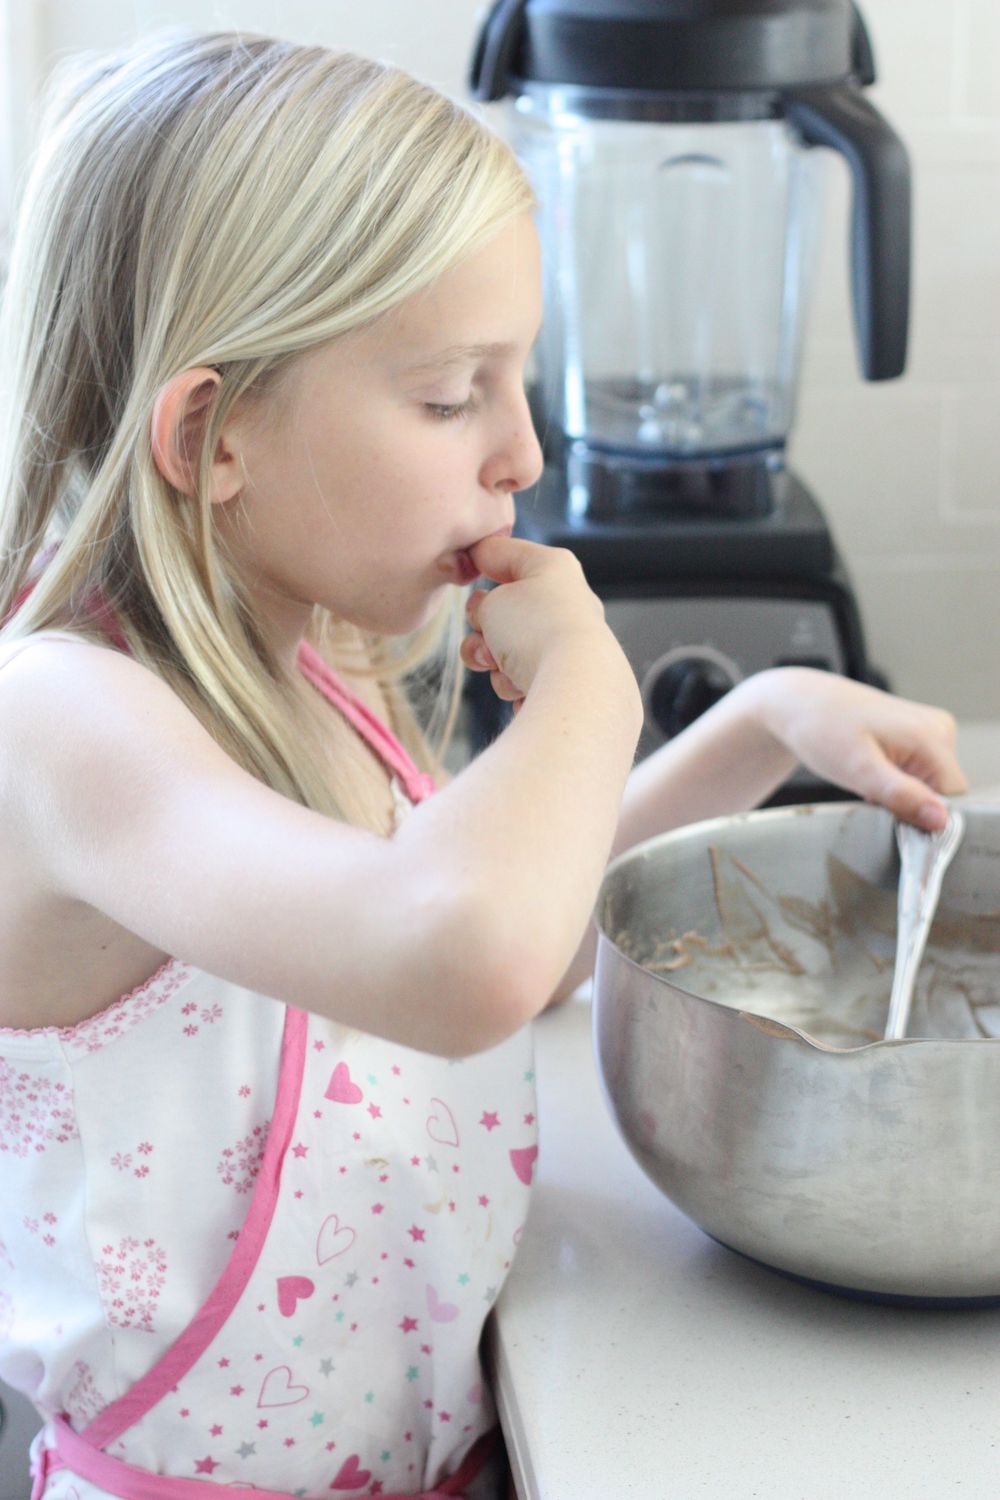
- It's the cook's privilege at this stage to lick the bowl - if that's your kind of thing ...

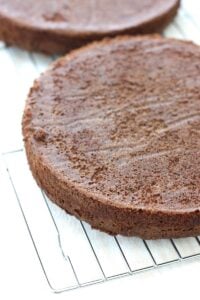
- Allow the cakes to cool in their tins for a few minutes or until the edges of the cake have shrunk a little from the tin. Now run a sharp knife round the edges of the tins to fully release them and carefully tip the cakes onto a cooling rack.
- Be sure that the cake is completely cold before decorating it. I used 'my chocolate icing of choice' here. This quantity is enough to top and fill the cake.


Keywords: sponge, birthday, celebration
Find it online: https://marmaladeandme.com/easy-chocolate-cake/