So you know that funny 'in-betweeny' time betwixt being awake and being asleep? It's the time when you're neither fully awake nor fast asleep; the time when you discover clarity on the most complex of problems; the time when I do my best, most cutting-edge blog post writing. Of course, when you wake up the following morning, you're mostly met with the realisation that the solutions you designed during your semi-conscious state are not just a bit misplaced, they are completely, ridiculously, stupidly unrealistic and in most cases make no sense whatsoever. And the writing that I craft in my head during those sleepy moments? Almost always it's incomprehensible garbage.
I have to say that I find the whole experience very disappointing. Gutting even. Everything feels so achievable, so possible when you're sandwiched between awake and asleep. It must be worth trying to bottle it.
Anyway, a couple of weekends ago, #1 teenage son was home alone for the day. I can't remember where the rest of us were - perhaps something ballet-themed or swimming-themed or similar. Anyway, #1 teenage son had had a heavy week - a tonne of swim training and a tonne of school work to go with it - and so he was having a lazy day ... a bit of TV ... a breakfast or three ... and then there was a bit of extra sleeping too. And as he was falling asleep, he had one of those 'in-betweeny' moments of clarity -
"I'm going to bake a chocolate cake when I wake up."
Now that probably doesn't seem terribly misplaced or completely, ridiculously, stupidly unrealistic but it is certainly unheard of for #1 teenage son to want to bake a cake and unusual to plan it while being home alone.
Needless to say, by the time he'd slept it off, he was over the chocolate cake idea and back to putting his culinary energies into constructing the best ever bowl of Bran Flakes.
But the idea did linger, and when I got home later, he shared his chocolate cake epiphany and wondered whether there was a recipe on the blog, should it happen again.
And you know, there wasn't ... Until now.
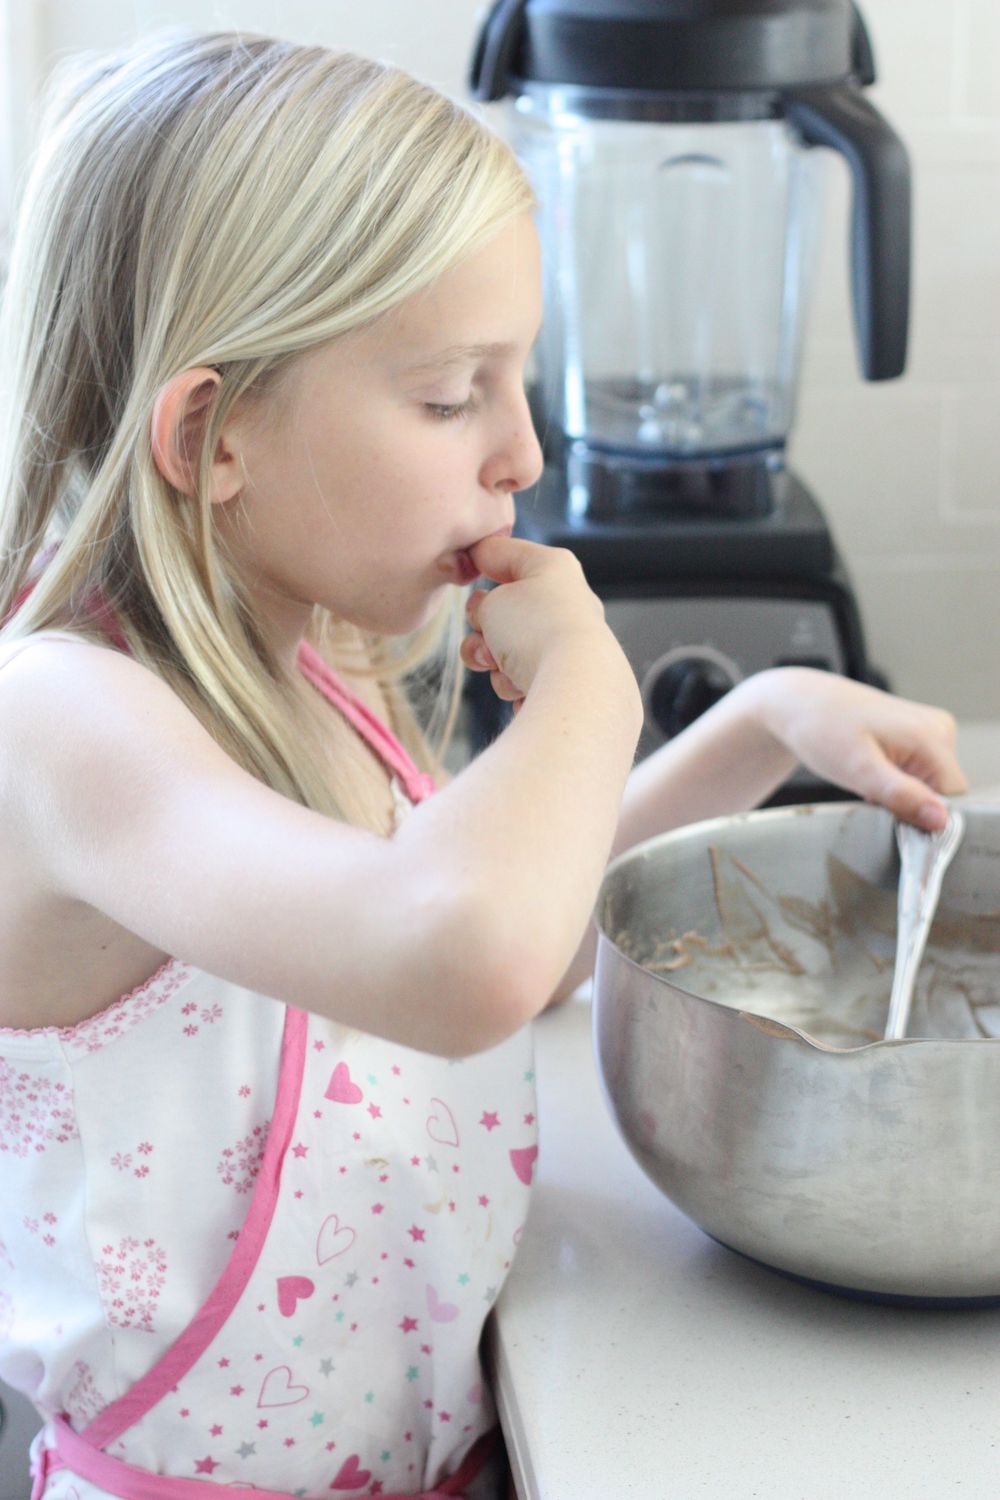
Making a perfect, easy chocolate cake is not at all hard, but step-by-step instructions make it seem heaps less intimidating. Hand modelling in these photos is courtesy of 8-year-old Hella and in fact, SHE made this cake - so if it's easy enough for an 8-year-old, it'll be a piece of cake for you too. And, no, that pun wasn't intended but I love it for its cheesiness.
And before we get onto the step-by-step part, I want to emphasise a few golden rules to guarantee a perfect cake every time -
- Use the correct sized tin for the recipe - it's essential.
- Line the base of the tin with baking parchment - it's essential.
- Weigh out the ingredients carefully - it's essential.
- Follow the instructions.
That's all. Making a perfect, easy chocolate cake is not difficult, but precision is a big factor. Baking is more about science than art. This chocolate cake is light, fluffy, moist and tastes wonderfully chocolatey. It keeps well in an airtight container but is at its peak of gorgeousness on the day that you lovingly made it.
Thoughts on decorating your EASY Chocolate Cake ...
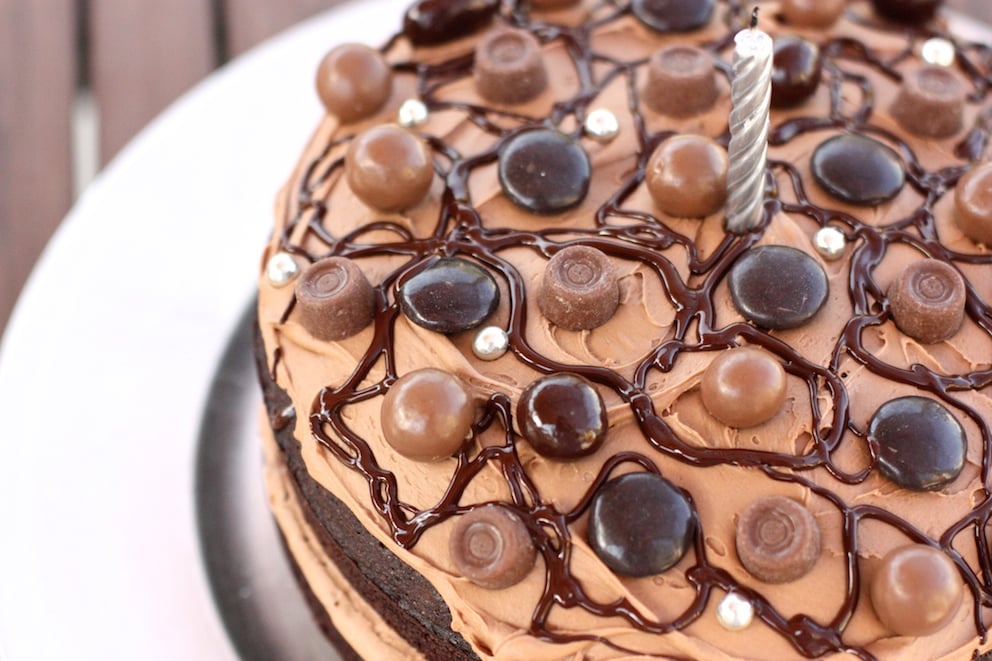
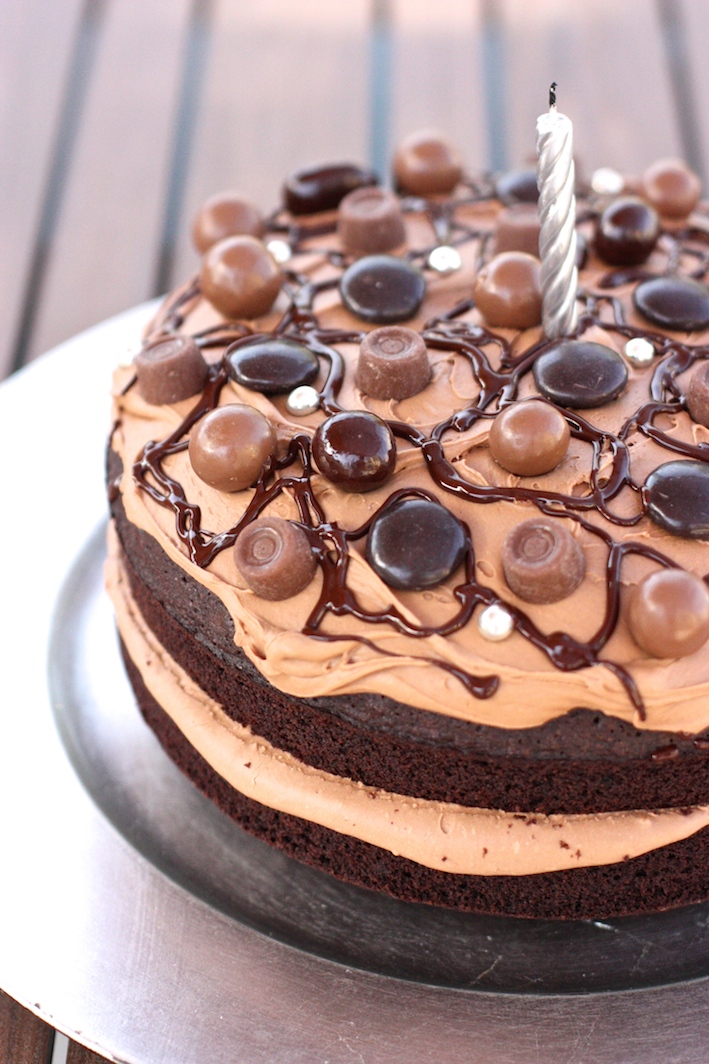
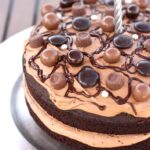
You can, of course, decorate your cake however you wish. I am a big fan of 'my chocolate icing of choice' (which I use to sandwich the cakes together and as the topping - one quantity of the recipe is plenty) and my signature cake decorating style is to use a selection of chocolate sweets on the top. I do this at every opportunity.
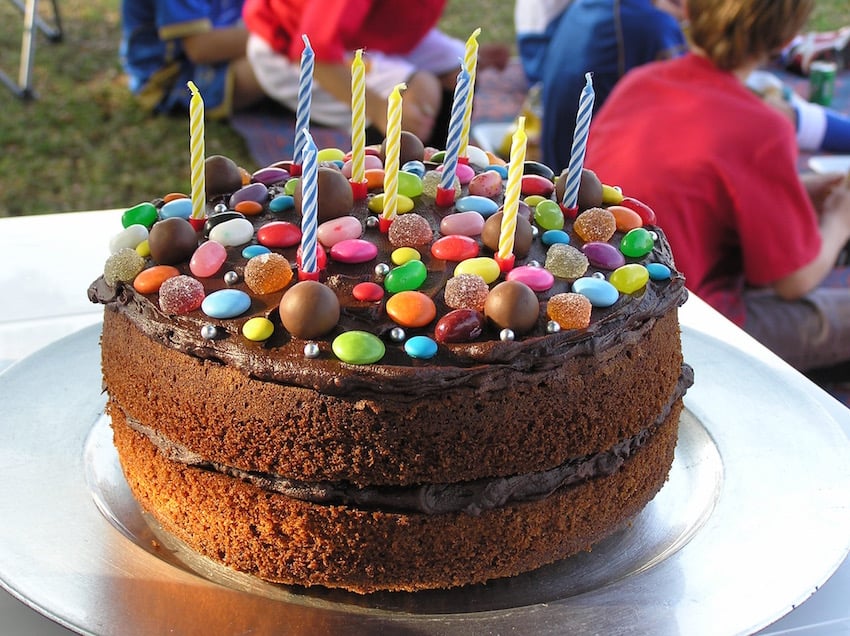
Here, I also drizzled a little melted chocolate over the top too. You could also fill it with whipped cream, buttercream, add some strawberries or raspberries, top it with white icing etc etc. For this cake, Hella opted for chocolate filling + a layer of caramel filling + Hershey's Chocolate kisses on the top. 'More' is more when you are 8 years old.
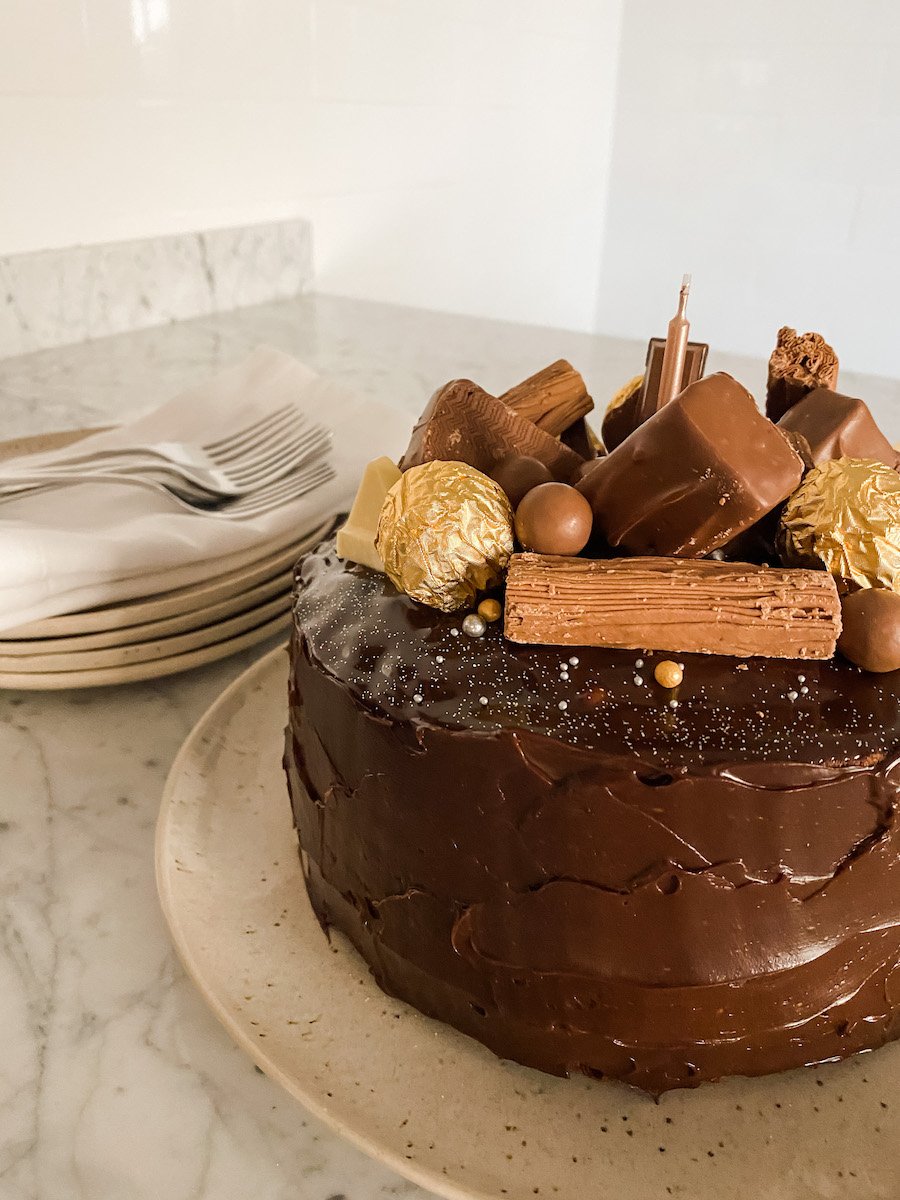
I'm also a fan of a chocolate ganache to decorate your EASY Chocolate Cake. Here I used the ganache when it was still runny to flood the top of the cake and allowed it to thicken before I decorated the sides.
So, #1 teenage son ... the next time you dream of baking a chocolate cake, you CAN. But make sure you save me a slice ... and clear up the kitchen afterwards. And that'll be IN the dishwasher - not just in the zone.
If you liked this, you might also enjoy this exclusive chocolaty subscriber recipe -
How to make a perfect, easy chocolate cake.
This chocolate cake is light, moist and tastes wonderful. It's super easy, keeps well in an airtight tin and is a blank canvas for all your decorating flair. I used 'my chocolate icing of choice' here to fill and ice the cake.
- Prep Time: 30 mins
- Cook Time: 30 mins
- Total Time: 1 hour
- Yield: 12 1x
- Category: Cakes
- Method: Oven baked
- Cuisine: British
Ingredients
- 275g (10oz) soft butter or margarine, NOT low fat or 'spreadable' + plus a little extra for greasing the tins
- 275g (10oz) caster sugar
- 5 eggs
- 2 tablespoons cocoa powder
- 250g (9oz) SR flour
- 1 tablespoon golden syrup
You will also need -
- 2 x 20cm (8") tins (preferably with loose bases but it's not a disaster if they don't)
- baking parchment
- weighing scales
- a large mixing bowl
- an electric mixer
Instructions
- Preheat the oven to 180°C/160°C Fan/350°F (gas mark 4).
- Begin by lining the tins. Draw around the base of the tin onto the baking parchment and cut out 2 circles.
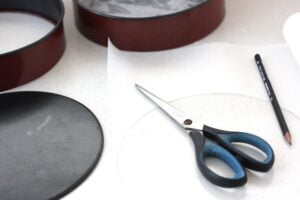
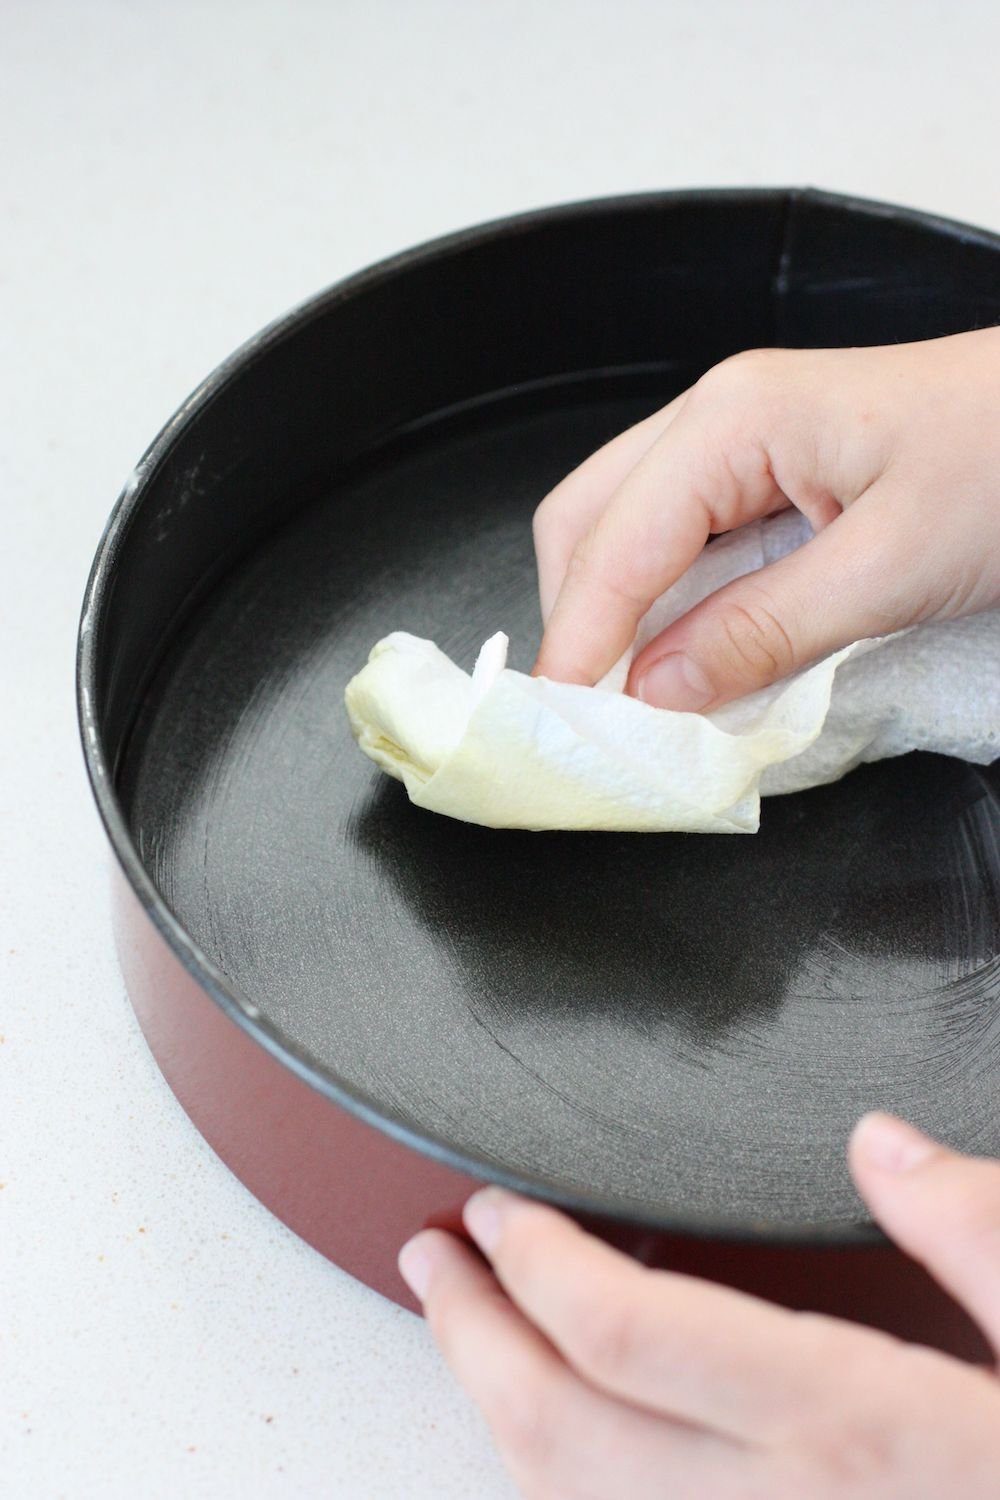
- Grease the base and sides of the tins with a little soft butter or margarine on some kitchen roll or baking parchment. Now 'stick' the baking parchment circles inside the 2 tins.

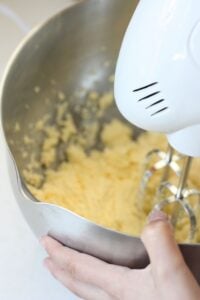
- Weigh the butter and caster sugar into a large mixing bowl.
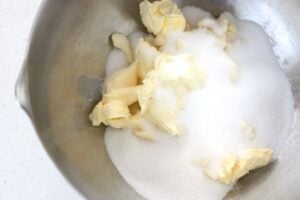
- Now using an electric mixer, cream the butter and sugar until it is light and fluffy and has become a lighter colour. This will take around 5 minutes.
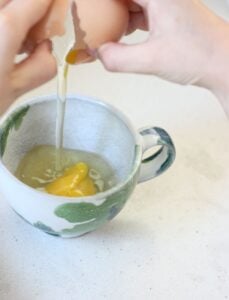
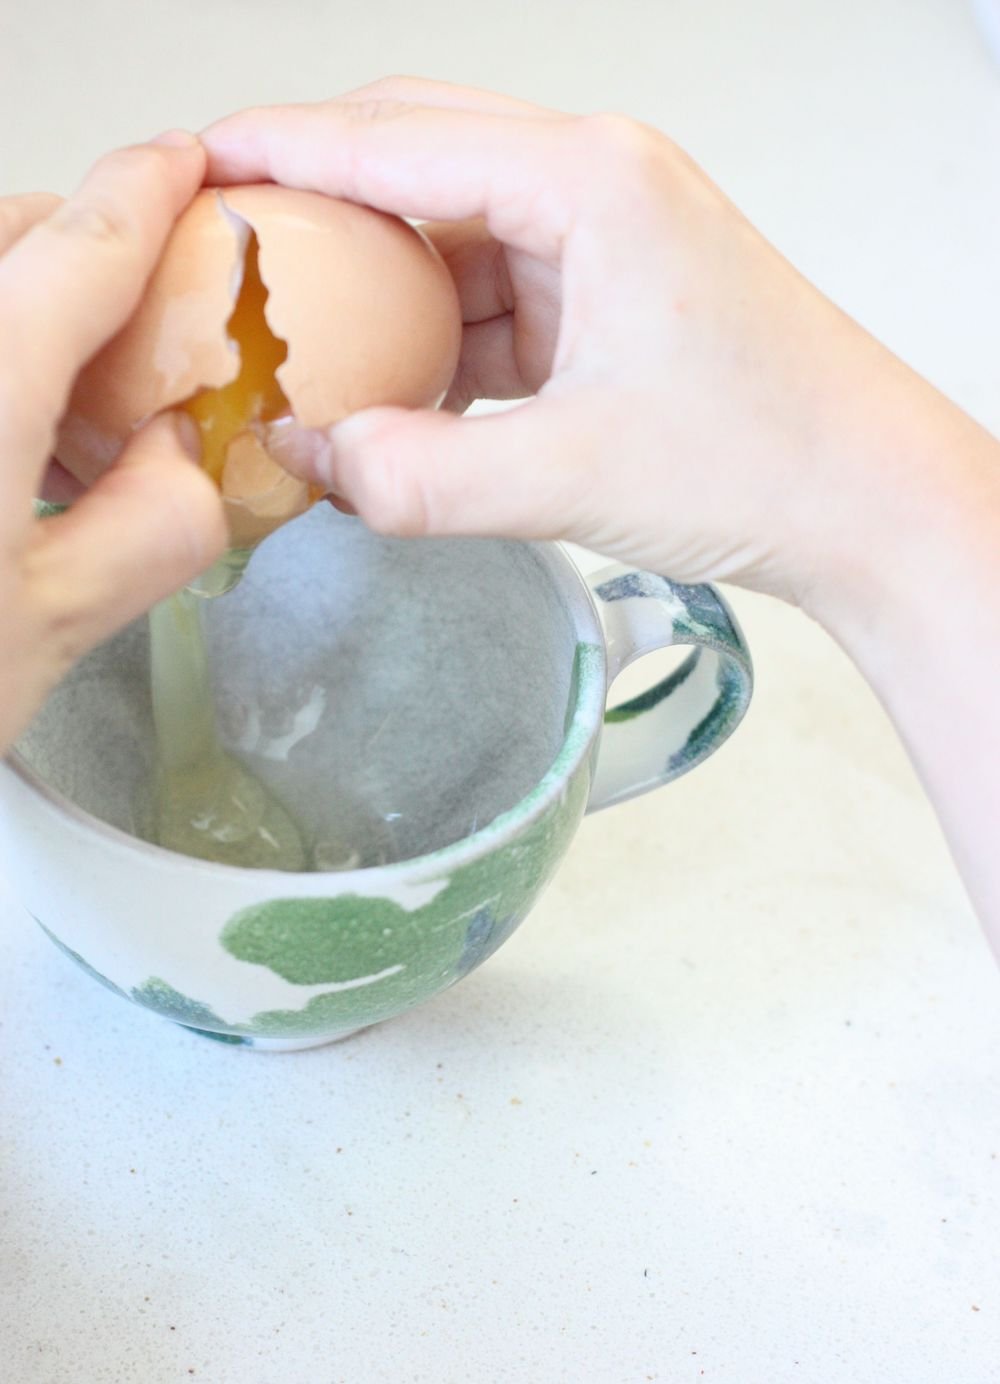
- Break each egg individually into a cup (just in case any of them have gone bad - trust me if does happen). This also means it is easier to fish out any stray bits of shell.

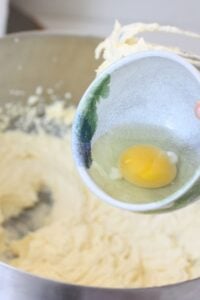
- Add each egg, one at a time to the mixture.
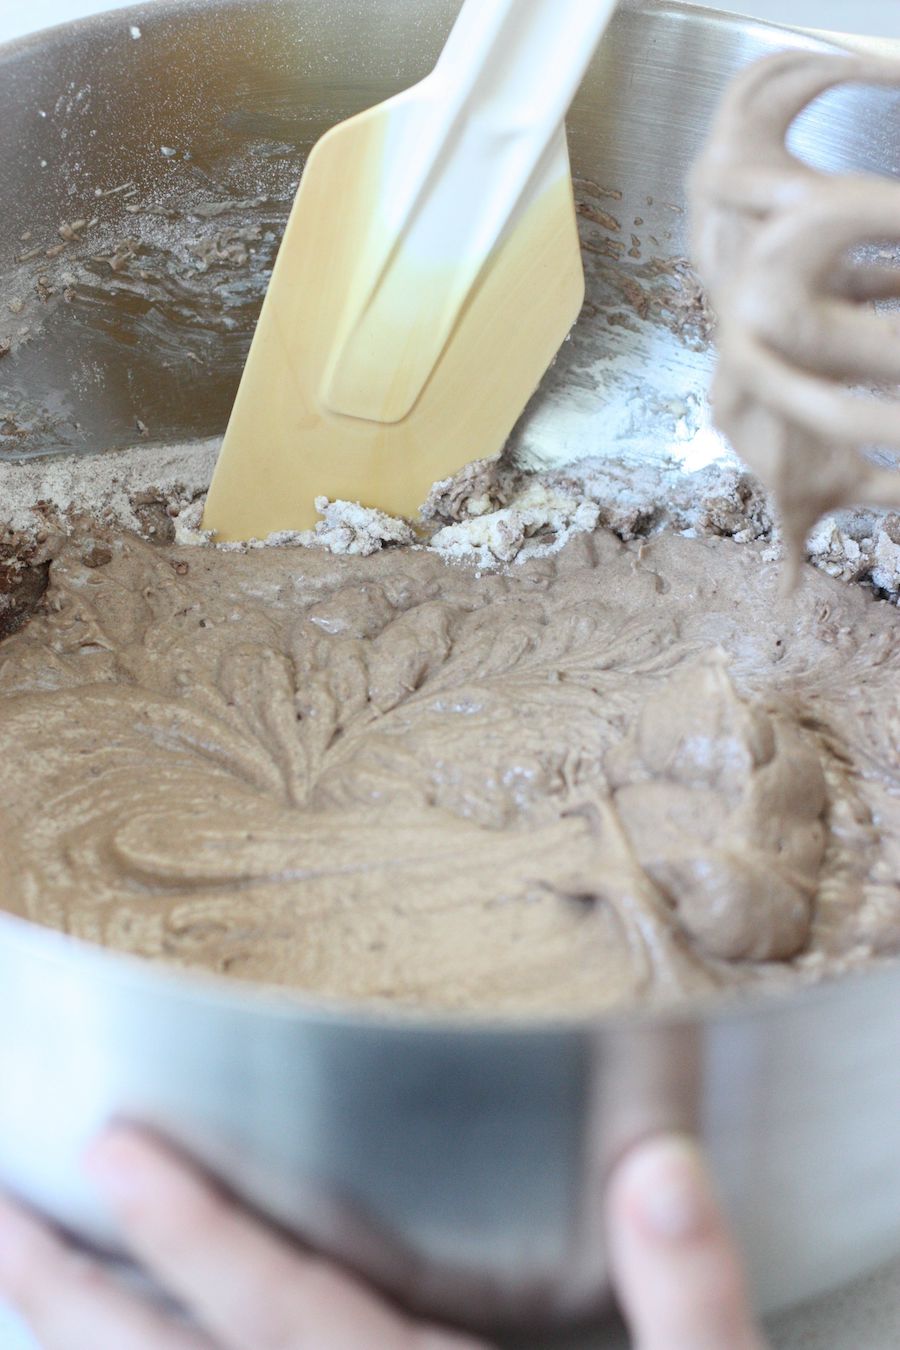
- Now weigh the SR flour into a bowl and add this to the cake mixture with the cocoa powder.
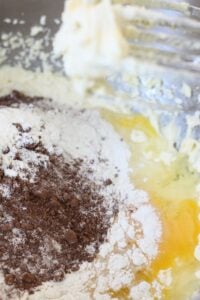
- Beat the mixture until everything is well combined. You may need to use a spatula to 'clean' the edges of the bowl and to make sure that everything is thoroughly mixed.

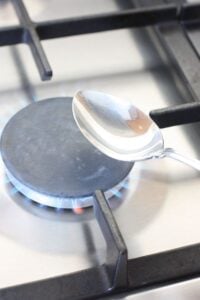
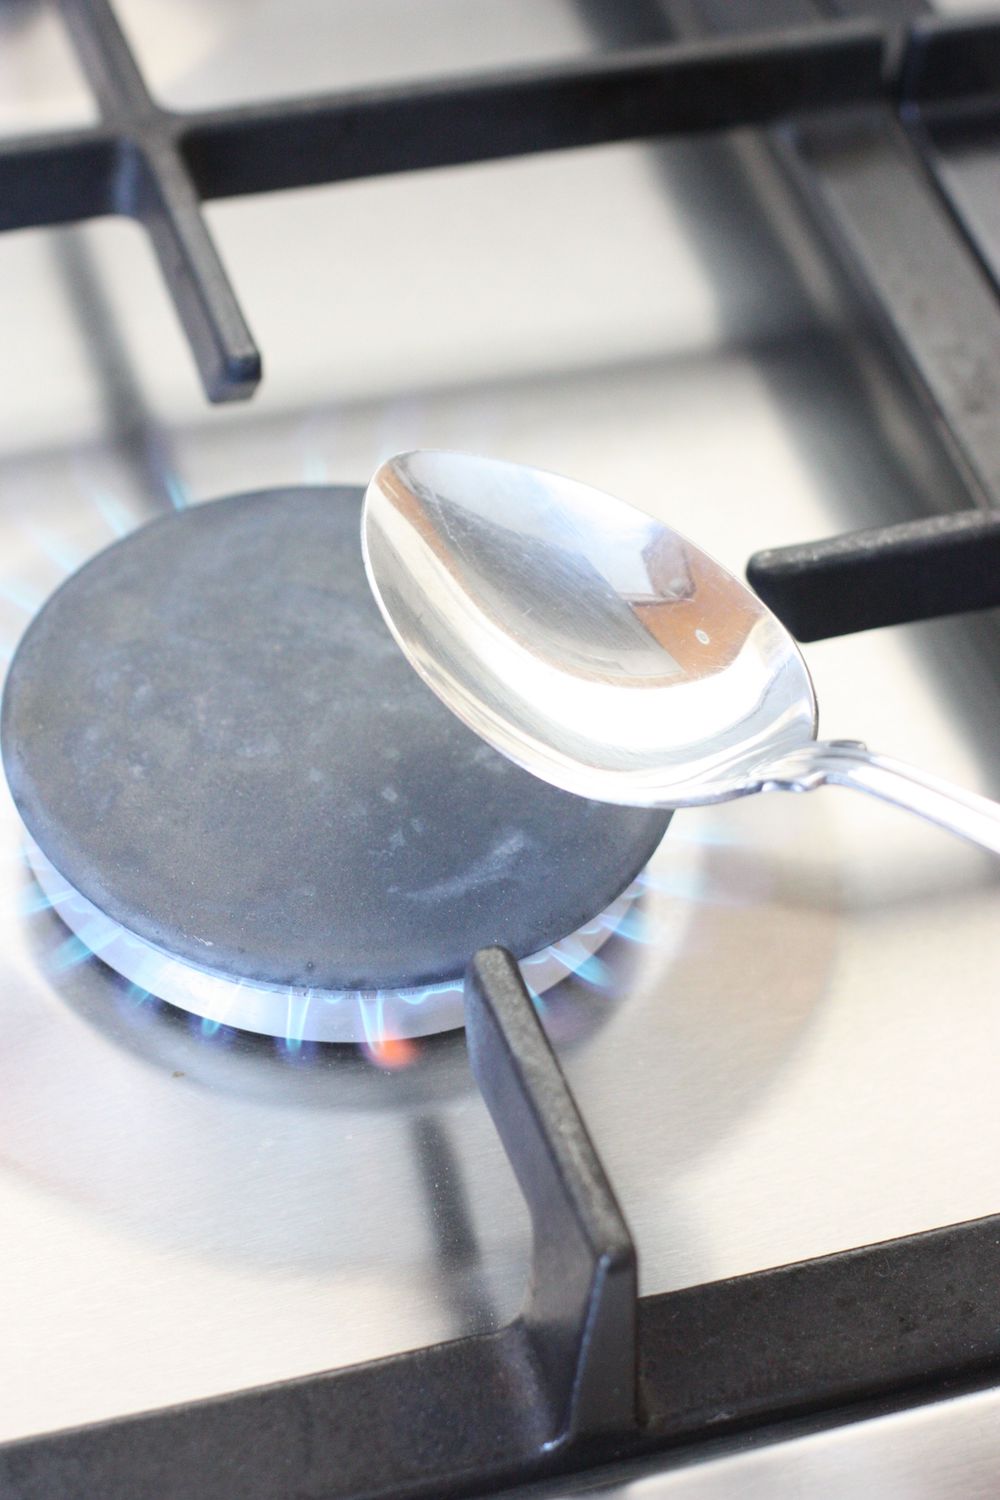
- If you're cooking on gas, warm a metal spoon over a flame on the hob for a few seconds and use the hot spoon to measure a tablespoon of golden syrup into the mixture. Use the same spoon to gently fold the syrup into the mixture. If your hob is electric, just use a teaspoon to ease the syrup off the tablespoon.
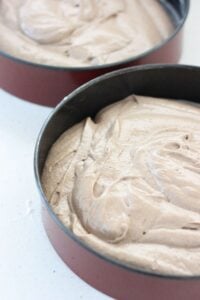
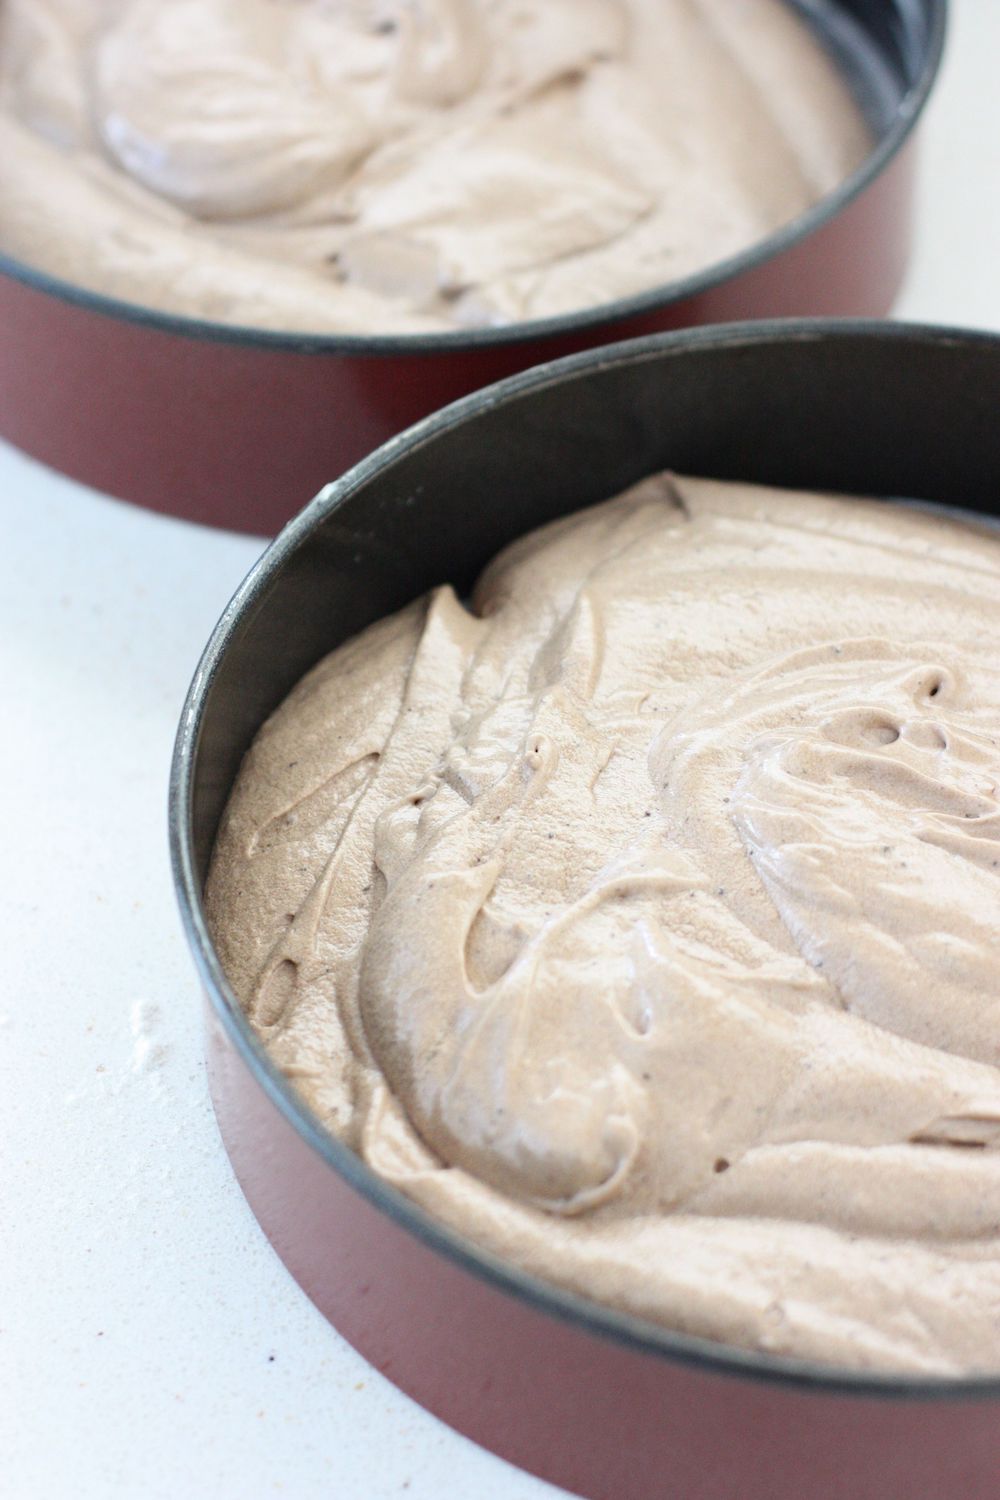
- Divide the mixture between the 2 tins and bake in the oven for 20-25 minutes or until the centre is springy to the touch.
- It's the cook's privilege at this stage to lick the bowl - if that's your kind of thing ...

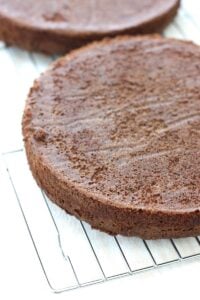
- Allow the cakes to cool in their tins for a few minutes or until the edges of the cake have shrunk a little from the tin. Now run a sharp knife round the edges of the tins to fully release them and carefully tip the cakes onto a cooling rack.
- Be sure that the cake is completely cold before decorating it. I used 'my chocolate icing of choice' here. This quantity is enough to top and fill the cake.


Keywords: sponge, birthday, celebration