I love simple. I love easy. I love delicious. I love beautiful. And I especially love the things that combine all of the above. I'm also a fan of desserts that create a WOW moment but which are not too much of a 'try-hard'.
For a long time, my go-to dessert when I had friends over for dinner was a platter of fruits with a little mound of Waitrose chocolate truffles in the centre. Sometimes I replaced the truffles with Chocolate Tiffin, cut into bite sized cubes or maybe even a couple of bars of decent chocolate broken up (actually the chocolate from Tony's Chocolonely with its crazy paving pattern would be fantastic here, as well as delicious - they also have a really interesting history and mission, if you're interested).
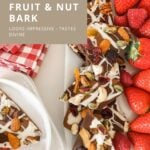
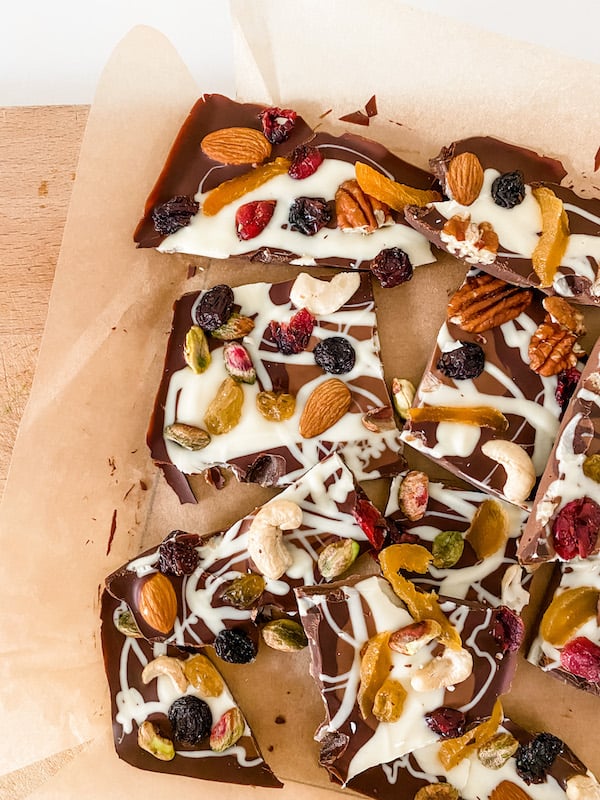
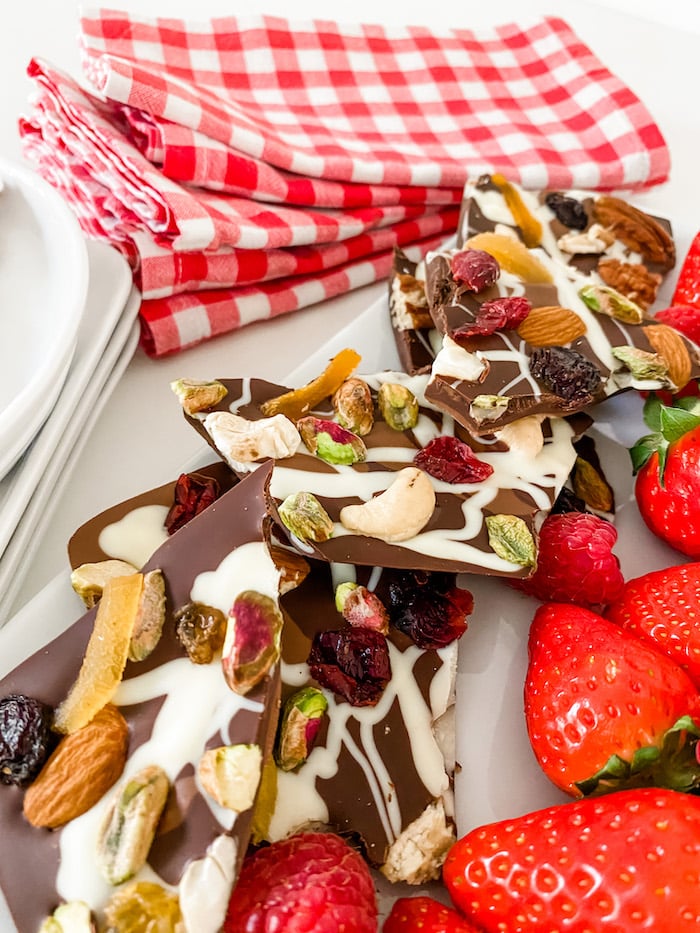
I'd been experimenting with a few variations of chocolate bark and at around the same time, a friend asked me for suggestions for a simple dessert for a small family dinner, and there you have it, an idea is born - Triple Chocolate Fruit and Nut Bark, here served with strawberries and raspberries as a very easy, delicious and oh so WOW dessert. Plus you get to eat it with your fingers ...

What is chocolate bark?
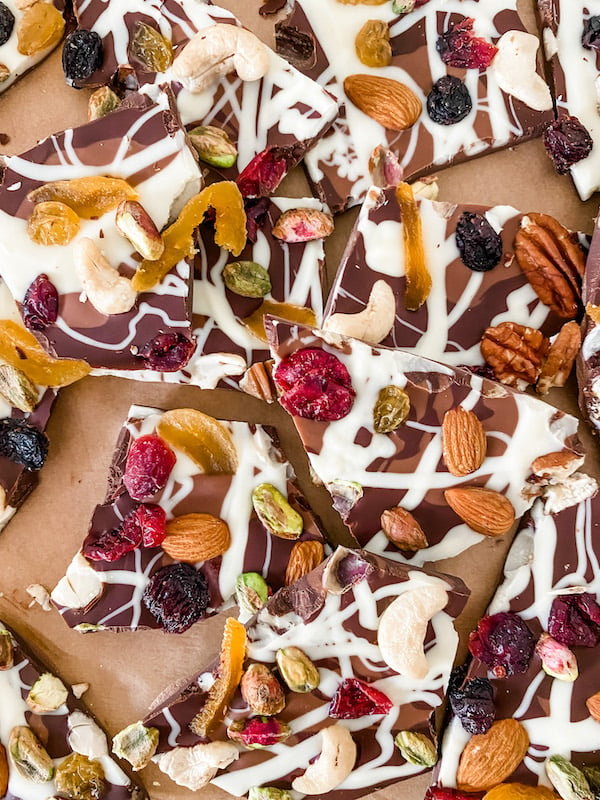
It's a sheet of chocolate, studded with adornments such as nuts, dried fruits or sweets. It's normally broken into rough, jagged pieces and if you buy it (from a fancy chocolate shop, most probably) it is pricey. My version gives you the opportunity to make it your own; to choose your favourite combination of chocolate and to select your perfect toppings.
Which chocolate should I use and how much do I need?
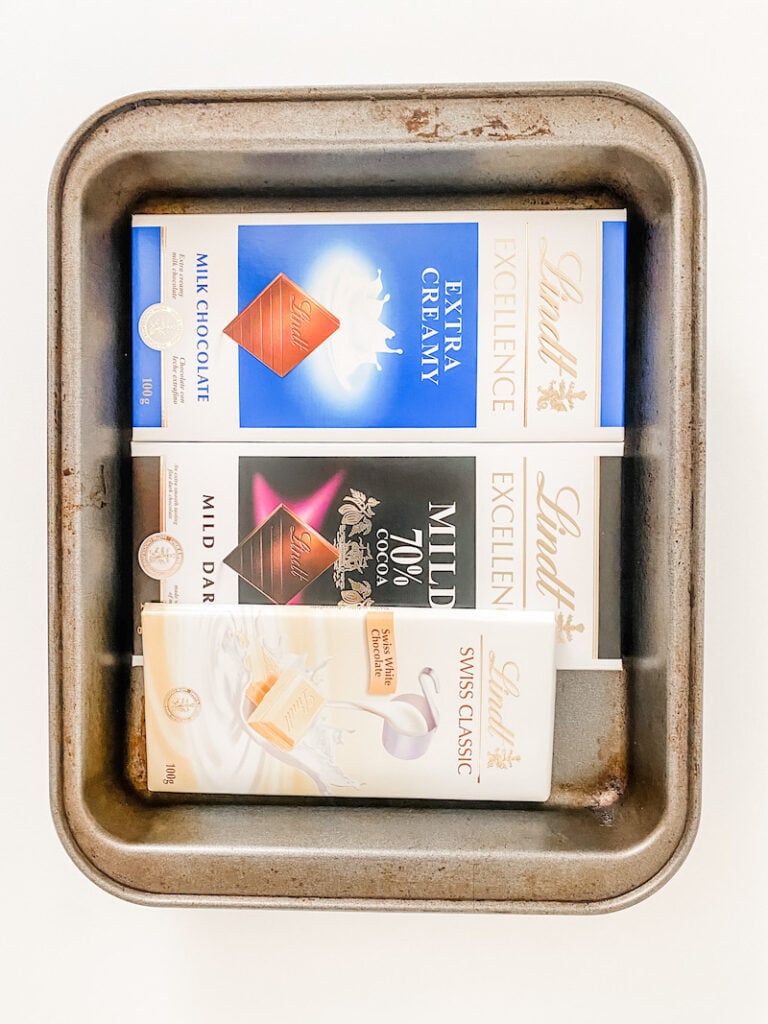
Choose chocolate that you enjoy eating. I always gravitate towards Lindt because I love the way it behaves and it's very easy to get hold of here. Combining equal parts dark, milk and white is my favourite combination, but it's personal so do your own thing. Here's a trick to work out how much chocolate that you need -
Use your chocolate bars as your guide. Assuming that you want the thickness of the bark to be similar to a bar of chocolate, find the tin that you want to use and then lay out your bars to cover the base. In the photos below, the three bars were the right quantity for this tin. It's an easy way to calculate and it means that you can be flexible around the tins that you own!
So what toppings could you use for your chocolate bark?
Here I've used a mixture of dried fruits and nuts, but you could also use -
- Toffee popcorn
- Crystallized ginger
- Salty pretzels
- Sprinkles
- Chocolate chips
- Smarties
- Marshmallows
- Mini Eggs at Easter
- Honeycomb
- A sprinkling of flaky sea salt
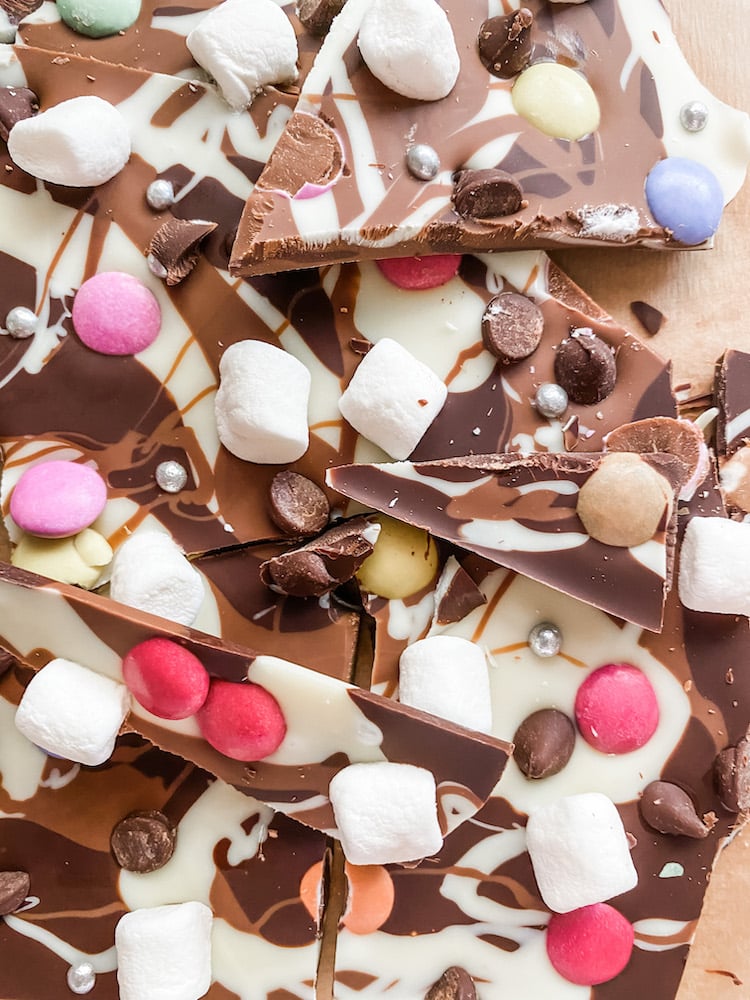
What else can you think of? Generally, things that will go soggy are probably not the best idea, but also realistically, this isn't going to be hanging around for very long - it is highly susceptible to fridge raids! I would suggest that the best combinations are fairly simple but do experiment to find your chocolate bark nirvana. My friend who was making hers for a family dessert, had a genius idea to make it half-and-half; one half adult toppings and the other half for the children (the children's half looked a bit like this - I can vouch for it being rather popular with adults too!)
Here are my useful tips for making Chocolate Bark
- Always line the tin - I used baking parchment and I greased the tin a little bit first so that the paper wouldn't move around.
- Break the chocolate into fairly small pieces for melting - and put each type into a separate bowl. I prefer a microwave to melt the chocolate and I used as little as heat as possible (stopping and stirring the chocolate a couple of times to keep everything moving and to speed up the process). It is possible to burn chocolate in the microwave (been there, done that!) so go carefully - it needs to be liquid, not boiling hot.
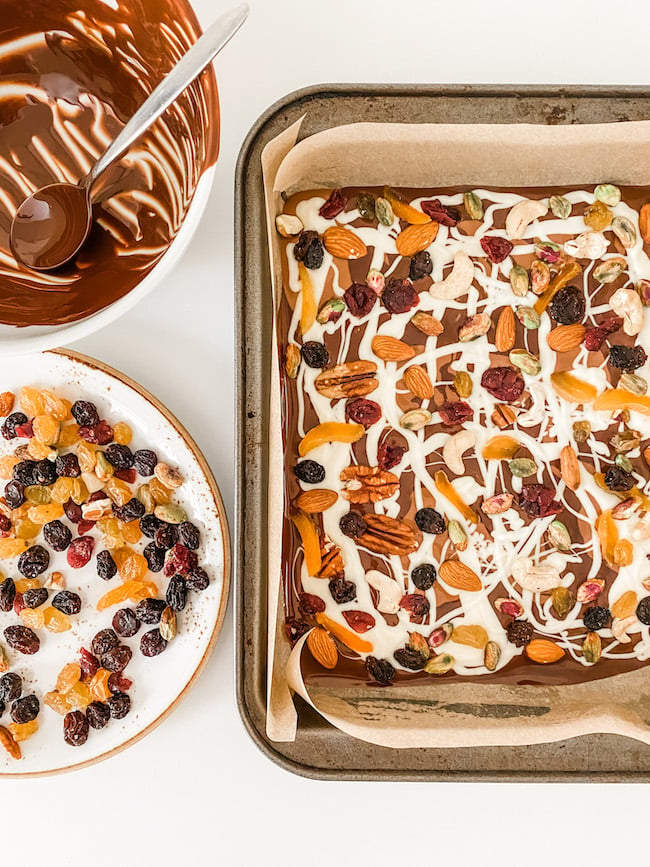
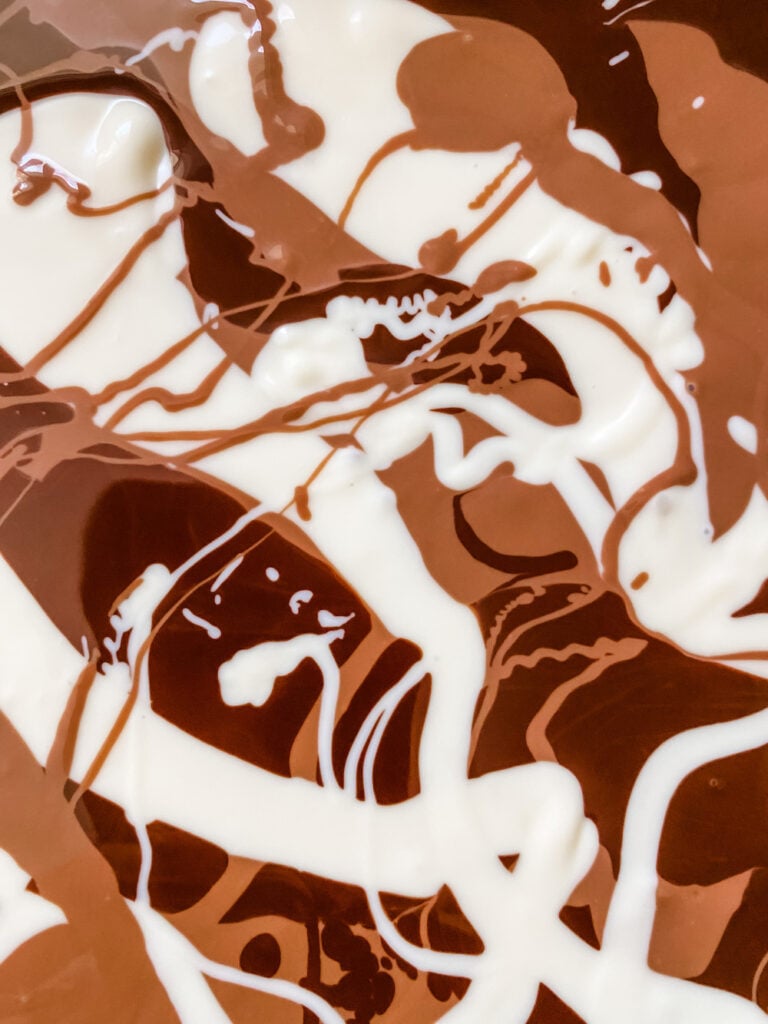
- Pour the chocolate into the tin - here's where you can begin to get artistic! I started with the dark chocolate and spooned it into the tin, leaving gaps in between. Then I followed with the milk and the white, trailing it around like a Jackson Pollock masterpiece!
- Tip the tin gently from side to side - to even out the level and to fill any gaps.
- Now add your toppings - don't go crazy! If there are no spaces, it becomes harder to break up the chocolate and the toppings start to become the main event.
- Allow plenty of time to chill in the fridge - I would recommend at least 3 hours.
- When it is completely solid, break the bark up with your hands - using the paper in the tin to help avoid getting fingermarks all over the chocolate!
- Store the bark in the fridge - in an airtight container and beware that the temptation to grab a piece every time you walk into the kitchen is HUGE.
And here's why I think this Triple Chocolate Fruit and Nut Bark may go straight into your repertoire
- It's high impact, low effort.
- It really does taste delicious.
- It can be made ahead of time and lasts ages (subject to regular snacking).
- It's a great way to use up bits and bobs of fruits and nuts and sweets.
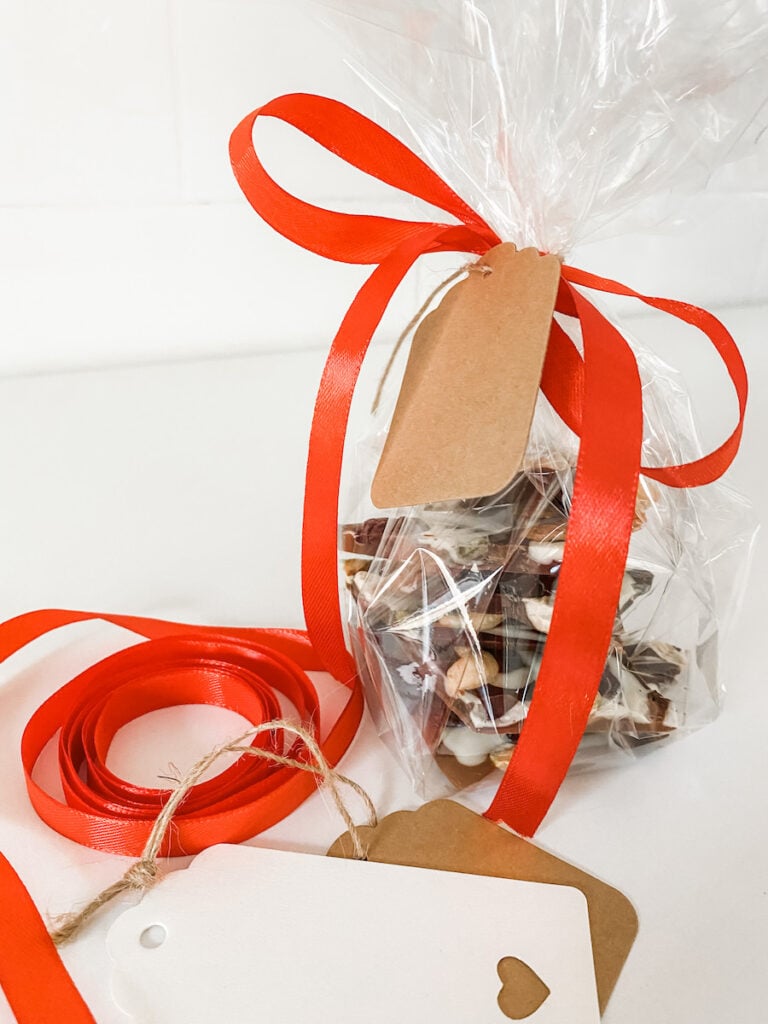
- It's also a thoughtful gift to give, if you wrap it in some cellophane or pack it in a pretty box. And this could be an ideal project for young kitchen helpers.
- Serving it with some fruits, makes sure that there's something for everyone's dessert preferences.
- It's also a delicious treat to make for yourself and stash away in the fridge for reasons of self-care.
And let's face it, when your teenage daughter tells you that this Triple Chocolate Fruit and Nut Bark is like a 'much fancier, much tastier version of Cadbury's Fruit & Nut', you know that you are on to a winner ..
Triple Chocolate Fruit and Nut Bark

Swirls of dark, milk and white chocolate adorned with fruits and nuts and snapped into jagged pieces. Looks impressive - tastes divine.
- Prep Time: 30 mins
- Cook Time: 3 hours (chilling)
- Total Time: 3 hours 30 minutes
- Yield: 6 1x
- Category: Dessert
- Method: Fridge
Ingredients
- 100g (4oz) dark chocolate
- 100g (4oz) milk chocolate
- 100g (4oz) white chocolate
- 100g (4oz) mixed fruits and nuts (including pistachios, cashews, almonds, cranberries, golden raisins, apricots - to be honest, I used the dregs of a number of nearly empty packets in the cupboard)
You will also need -
- baking parchment
- a tin - mine was 24cm x 20cm x 4cm
Instructions
- Line the tin with baking parchment - greasing it a little bit so that the paper doesn't move around.
- Break up the chocolate into pieces - and put each type into a separate bowl.
- Melt the chocolate - until it is completely liquid. I used a 1200W microwave and each bowl needed around 1 minute. If you don't have a microwave, melt the chocolate in separate bowls over a pan of boiling water on the hob. In both methods, stir regularly to speed up the melting process.
- Pour the chocolate into the tin - I started with the dark chocolate and spooned it into the tin leaving gaps in between. Then I followed with the milk and the white, trailing it around like a Jackson Pollock masterpiece!
- Tip the tin gently from side to side - to even out the level and to fill any gaps.
- Add your toppings - don't go crazy! If there are no spaces it becomes harder to break up the chocolate.
- Chill in the fridge - for at least 3 hours.
- When it is completely solid, break the bark up with your hands - using the paper in the tin to help avoid getting finger marks over the chocolate.
- Store the bark in the fridge - in an air tight container. It will keep beautifully (subject to fridge raids) for a week.
Keywords: chocolate, dessert, bark, gift