Freeze your mince pies uncooked and be ready to have freshly cooked pies on hand at a moment's notice ...
And let me share a secret with you ... I 'baked' fresh mince pies yesterday, crash bang in the middle of a busy, hectic day. They were straight from the freezer so the 'hands-on' time was less than 5 minutes - and they were gorgeous. Plus I suspect that they'd been in the freezer since last Christmas. Sshhh - I won't tell if you don't!
At this time of year, I often think of a story that a friend told me about Christmas baking. My friend and her husband were both working full-time and with three young sons to manage they decided to employ an au pair to lighten the load at home. The young girl was from overseas (I forget exactly where) and as Christmas approached, my friend, a keen cook, thought it would be nice to teach her young helper how to make the classic English festive bakes. They began with Christmas Cake - TICK ... moved on to Christmas Pudding - TICK ... and ended up with mince pies - TICK ... the full holiday baking repertoire. Miss Au Pair loved embracing the spirit of seasonal baking but then made a very reasonable and rarely uttered observation - "But aren't these bakes really all the same?". Never has a truer word been spoken! Indeed Christmas cake, pudding and mince pies certainly are all on the same theme with similar ingredients and the resulting comparable flavours but they're traditional - traditional, indulgent and delicious. And Christmas only comes once a year so it's not like you're going to get fed up with them. That's my excuse and I'm sticking with it.
What makes a fantastic mince pie?
Let's start with the mincemeat. There is no doubt that homemade tastes best, but at this time of year when you're up to your ears in everything, let's be realistic - this may not be the top of your priority list. If I'm going to make my own, I'll use this recipe from Delia and I'll do it early to get it out of the way - before there's even a hint of festivity in the air, but the best-laid plans ...
Bought mincemeat is fine. Correction ... it's more than 'fine', it makes for gorgeous mince pies but ONLY with gorgeous pastry.
I'm deferring to my Nan again for this one. She was Bertha (if you're trying to build a picture of her ...) - a name that you don't hear too much now. Bertha knew her pastry and for mince pies it was her legendary 'German pastry'. I've never heard anyone else refer to it with this name but it's essentially a sweet pastry with egg used as the binder. This makes for an almost biscuit-like flavour and texture and a consistency that is very easy to work.
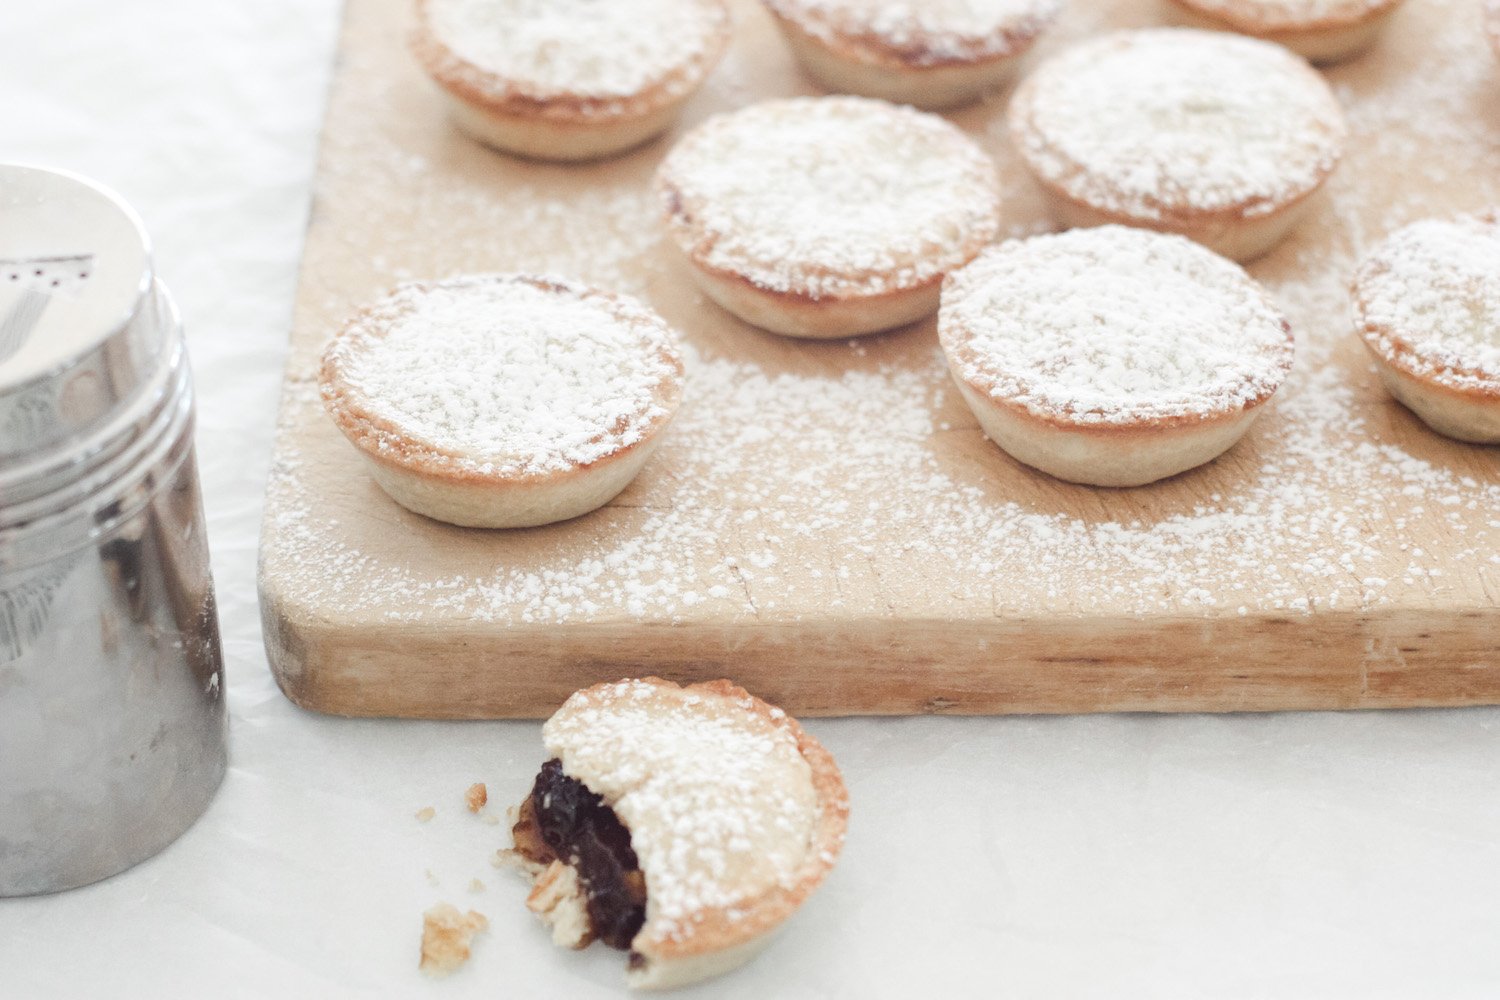
So her secret to making gorgeous mince pies was using her German pastry, rolling it fairly thinly and not being mean with the mincemeat filling. She would also dust them with icing sugar after baking, although this did become the subject of an ongoing domestic battle. Family legend has it that Nan liked a dusting of icing sugar; her husband didn't - so she would dust and he would blow it off before eating. Dust. Blow. Dust. Blow .... You get the picture. You must make up your own mind on the 'to dust' or not debate but for me the aesthetics of a sweet, snowy sprinkle wins every time.

Anyway, I digress - back to today's tip about the wonders of freezing uncooked mince pies ... Back in the day of our catering business, we would sell a lot, lot, lot of mince pies in the run-up to Christmas. We started out selling them baked, dusted (of course) and ready to eat, but soon realised that there was an enthusiastic market for Freeze Ahead Mince Pies selling them frozen, uncooked and ready to bake at home. We used the tagline "Pass them off as your own. We won't tell if you don't ..." and they were a big seller.
So what is the secret to Freeze Ahead Mince Pies?
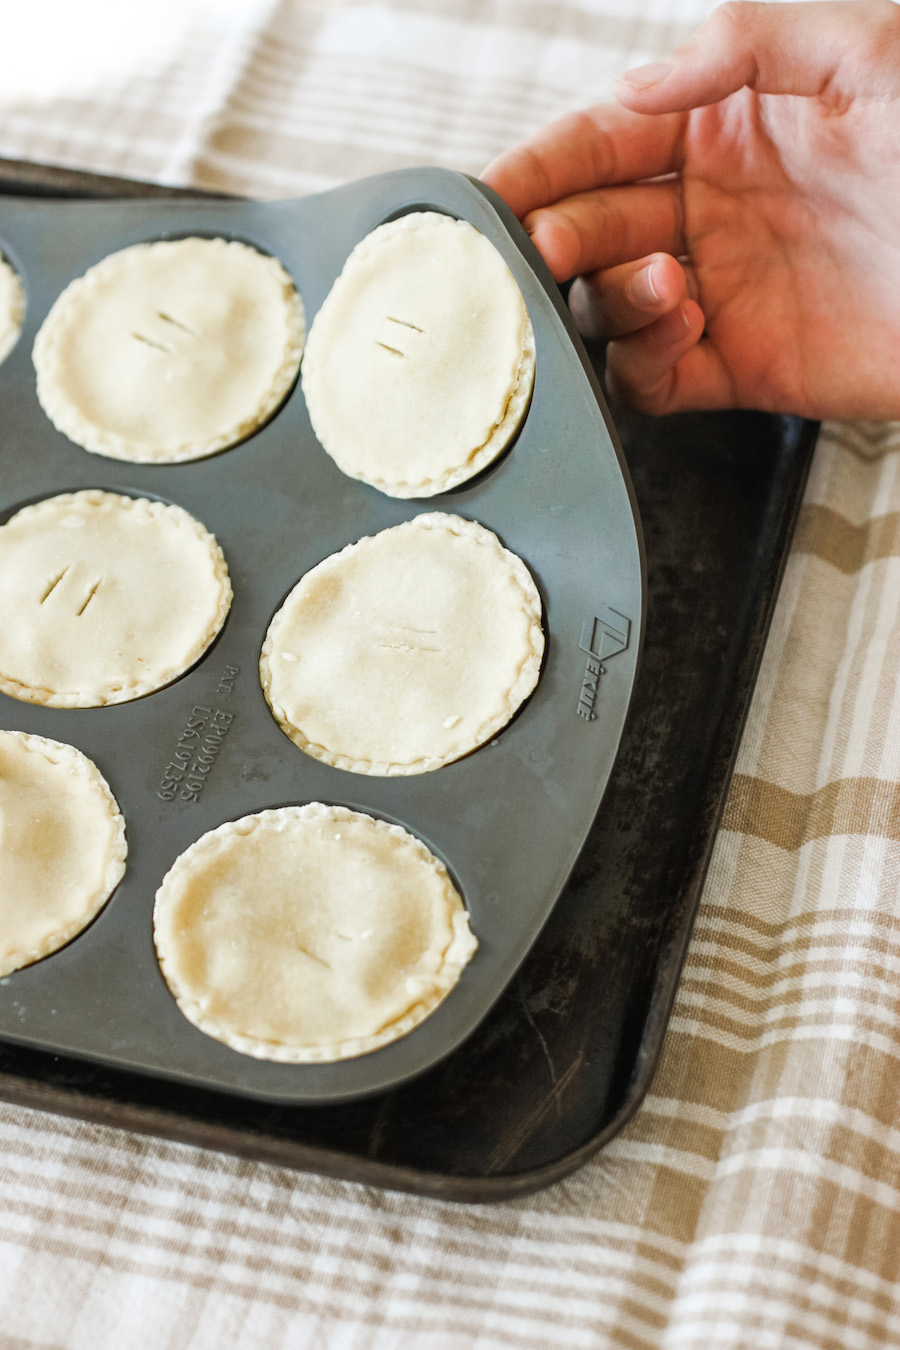
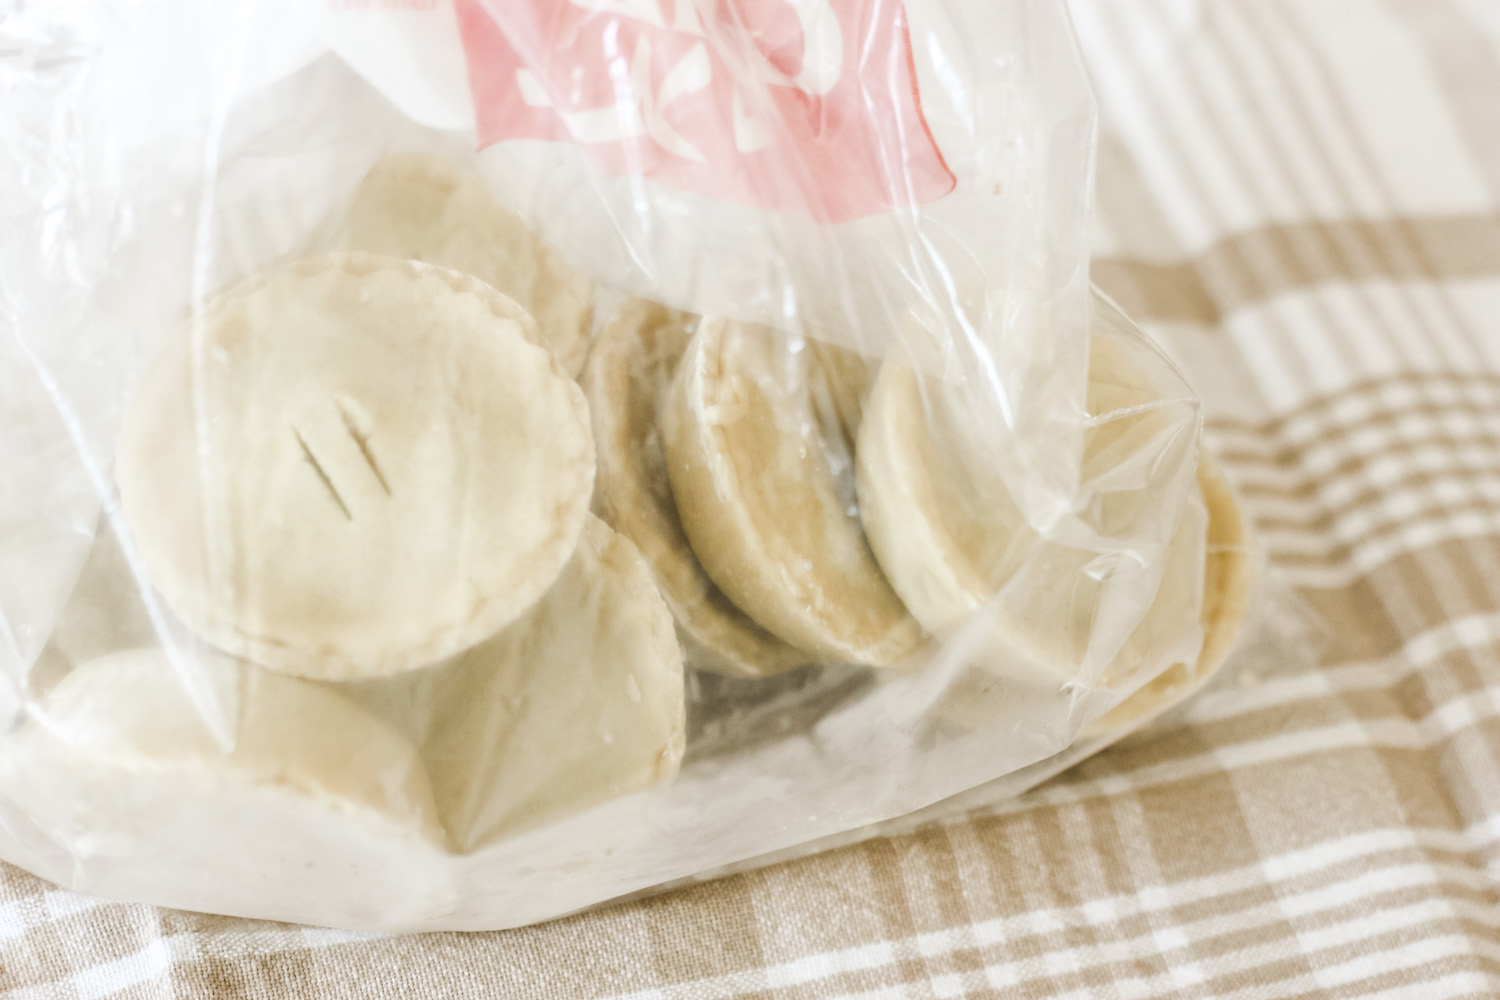
The secret to making this work is that wonderful invention - the flexible, silicone tray. No need to even grease it, but if it is very bendy, do stand the silicone tray on a solid baking tray to stop it from bending when you lift it up. Make your mince pies in the 'magic' silicone tray and pop the whole thing in the freezer when they are ready to bake (the end of stage 10). When they are completely frozen, they will easily pop out of their holes and can then be stored in a bag or box in the freezer until you are ready to use them. Don't forget that you'll need some space in your freezer, but you can sort that out can't you?
And how do you bake these Freeze-Ahead Mince Pies?
When you're ready to enjoy some freshly baked mince pies, take out as many as you need and pop them straight back into the holes of the silicone tray (no leaving them in the bag on the worktop to defrost or you will have a big mushy pastry mess!) and continue baking from stage 11. They will defrost very quickly but they are so small that they can also be popped straight into the oven if you prefer.
Freshly baked mince pies on tap - now that sounds like heaven. But beware ... before you know it, you'll have a reputation for being a Domestic Goddess. I won't tell your secret if you don't ...
If you buy something through any of my links, I may earn an affiliate commission at no cost to you. I recommend only products that I genuinely like. Thank you.
PrintFreeze Ahead Mince Pies
Freeze your mince pies uncooked and be ready to have freshly cooked pies on hand at a moment's notice ...
- Prep Time: 40 mins
- Cook Time: 25 mins
- Total Time: 25 mins
- Yield: 40 1x
- Category: Cakes
- Method: Oven baked
- Cuisine: Christmas
Ingredients
- 450g (1lb) plain flour
- pinch of salt
- 275g (10oz) butter
- 150g (5oz) caster sugar
- 1 egg, beaten
- 3 x 410g (1lb approx) jars of mincemeat
- a little milk for glazing
- a little icing sugar for dusting
You will also need -
2 fluted pastry cutters - I use a 6cm (2½ inch) diameter and an 8cm (3 inch) diameter
silicone pie trays (the quantity depends on how many you want to make in one batch) plus a solid baking tray for each one
Instructions
- Mix together the flour and the salt.
- Cut the butter into small cubes and rub into the flour mixture.
- Stir in the caster sugar.
- Add the egg to the mixture and stir with a knife. When the pastry starts to come together a little, abandon the knife and use your hands. Knead lightly and quickly until the pastry is smooth and well mixed.
- Wrap the pastry in a plastic bag or a piece of foil and rest in the fridge for at least an hour or until ready to use. You can also freeze some or all of the pastry at this stage if you want to make less mince pies.
- When you are ready to make the mince pies, take the pastry out of the fridge. If it has been in the fridge for a while, it may be easiest to cut it into smaller pieces to use and manipulate it a little to soften it.
- Lightly flour the worktop and roll out the pastry fairly thinly. Use the larger pastry cutter to make the bases for the pies and carefully press one into each opening in the silicone tray.
- Place a large heaped teaspoon of mincemeat in each opening - you want to be generous here.
- Now roll out more pastry and use the smaller pastry cutter to make the 'lids' for the pies. Use a sharp knife to cut a couple of slits in each lid.
- Put a little water in a small cup and, using your finger, moisten the edges of the pastry bases one at a time. Place a top on each one and press gently to be sure that there is a good seal. Repeat until you have run out of pastry. At this stage the mince pies are ready to freeze.
- Preheat the oven to 200°C/180°C/400°F, (gas mark 6).
- Brush the pies with a little milk using a pastry brush and bake in the oven for 20-25 minutes. Leave the pies to cool in the tray before dusting with icing sugar and storing in an airtight container.
Keywords: festive, make ahead, freezer

Nathalie
A funny story about mince pies.
Never seen one until I met Geoff. When I asked what was in them I was told mincemeat. Well since I m a vegetarian for years I never tasted one. Until one day I found out that much mincemeat wasn't in fact real mince meat !!
Rachel
Funny!
Marion
hi Rachel
I am going to cook them for our Christmas party! i need to find mincemeat in Bucharest now!
thanks so much for your recipes!
★★★★★
Rachel
Good luck - you may need it!
Watkinson
Rachel. - You are going to wish I had not signed up on your Blog after his message. Here I am all excited to try the mince pies and my poor old heart deflates when I realize your measurements are NOT in ounces and cups per us here in the USA? Oh dear. So hard to convert, but I will try. I did note that the oven temp. was also in F. So thank you and well done there.
Loved the roast potatoes. Outrageously good.
Hugs,
Cherry
Rachel
Converting from grammes to cups is pretty hard because cups are designed to measure volume and not weight. There is an interesting article here - https://en.christinesrecipes.com/2011/03/converting-grams-to-cups.html - which gives some basic conversions. You will probably find it easier to convert to ounces and you could use this - https://www.grams-to-ounce.com/ounces-to-grams.php. If all else fails, try these carrot cakes - https://marmaladeandme.com/carrot-cake-secret-ingredient/ - the recipe originates from the US and so the measurements are already in cups!