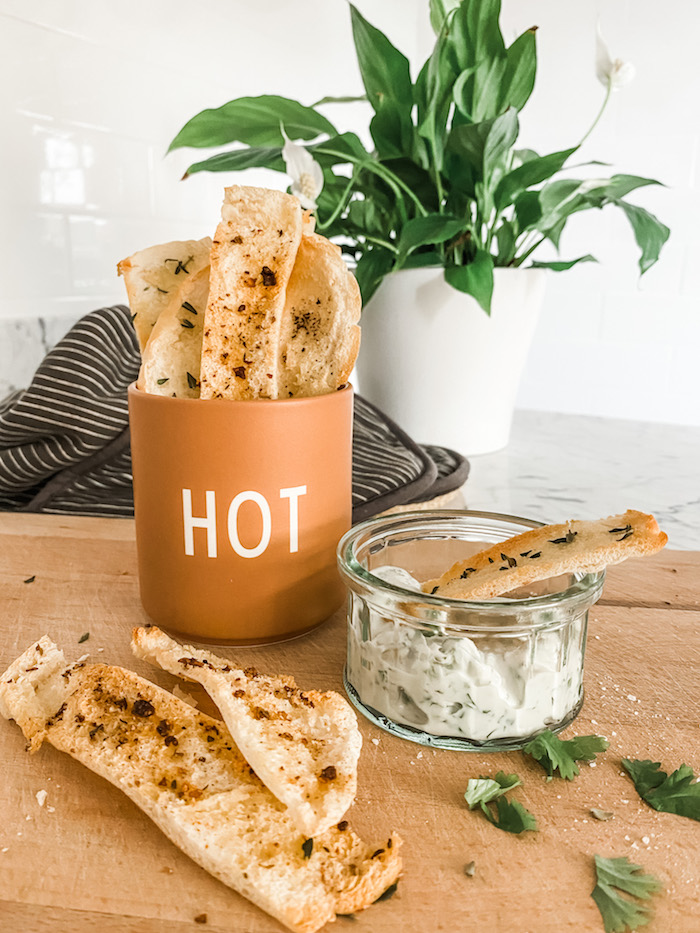
I first started making Pita Bread Crisps as a way of using up leftover pita breads. I'm often over-enthusiastic with how many I put in the toaster and rather than throwing them out, I stash them in a bag in the freezer to come back to later. And this certainly is a 5 star way of avoiding waste. But don't imagine you can only make these out of leftovers - these Pita Bread Crisps are so delicious that they also warrant opening a fresh packet of breads especially for the recipe. Basically, these are thin, crispbreads; brushed with oil, sprinkled with seasoning and baked in the oven. Totally scrumptious. Absolutely no fuss. Very more-ish.
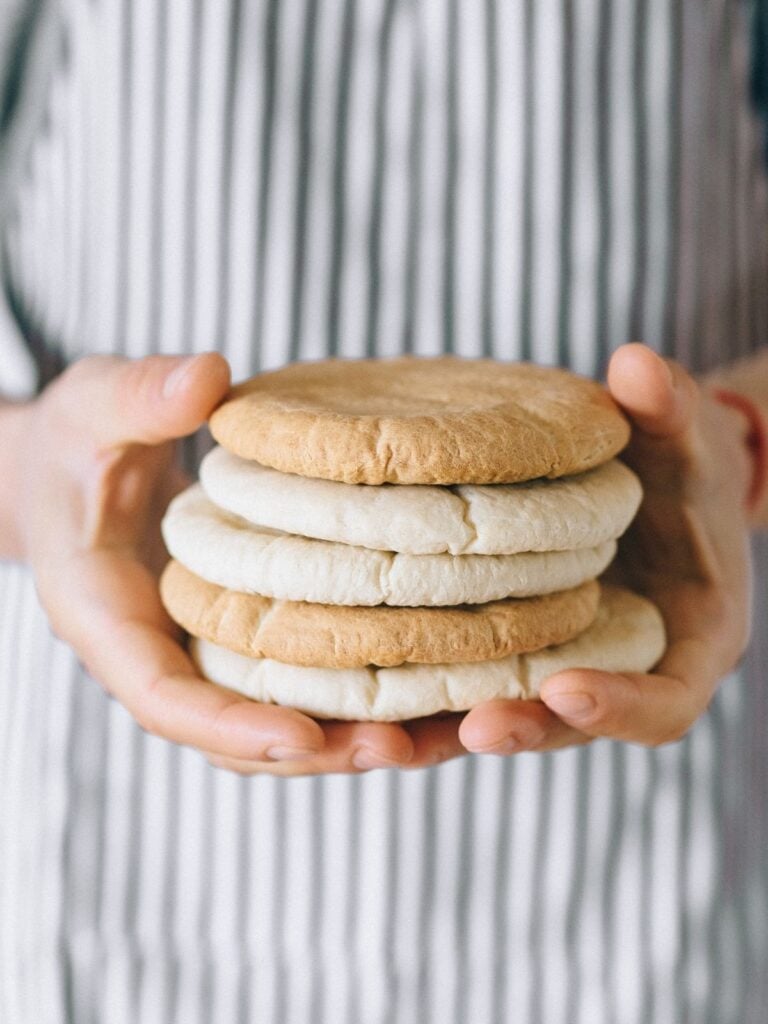
We have lived in the Middle East for long enough that 'pita breads', those delicious flat breads that form a pocket in the middle when heated, are always referred to as 'Arabic breads'. I think this may be a regional thing, or maybe it's just our family - I'll ask around. In any case, Arabic breads are a big deal in Dubai and the supermarkets sell them freshly baked and in a variety of sizes and also in wholemeal, if you are feeling inclined (I quite like them - my children tell me they taste like old boots). We eat a lot of Arabic breads -
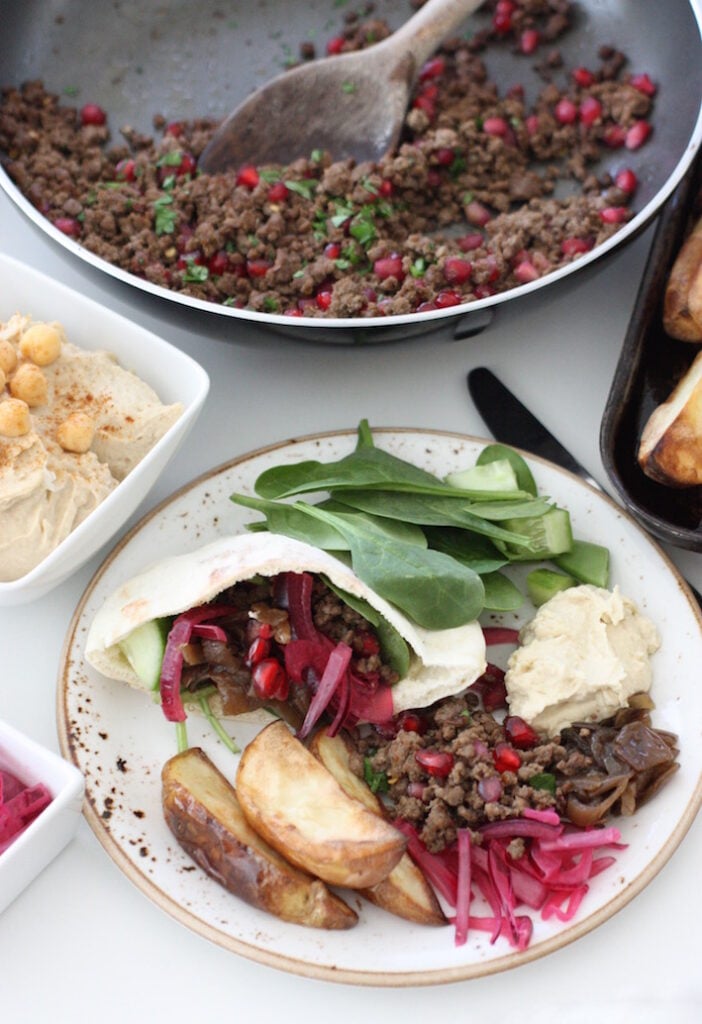
- Served alongside Chilli Con Carne, they enable the perfect 'chilli sandwich'.
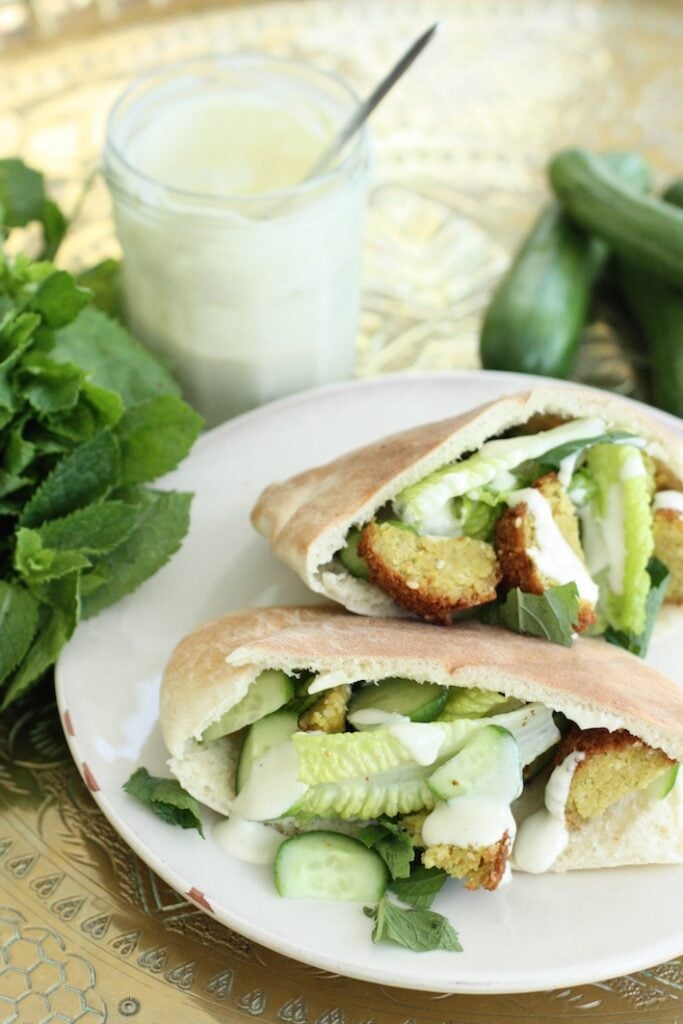
- Stuffed with falafel and a tahini dressing, they are wonderful.
- They unite a bunch of leftovers with ease.
- Warmed and filled with peanut butter and/or Marmite, they are a great emergency speedy breakfast when your morning alarm has let you down.
- They make great chip butties.
- They are a useful way to stretch a meal a bit further when you've slightly under-catered or everyone is a bit hungrier than normal.
So here's a summary of how to make these tasty little crispbreads -
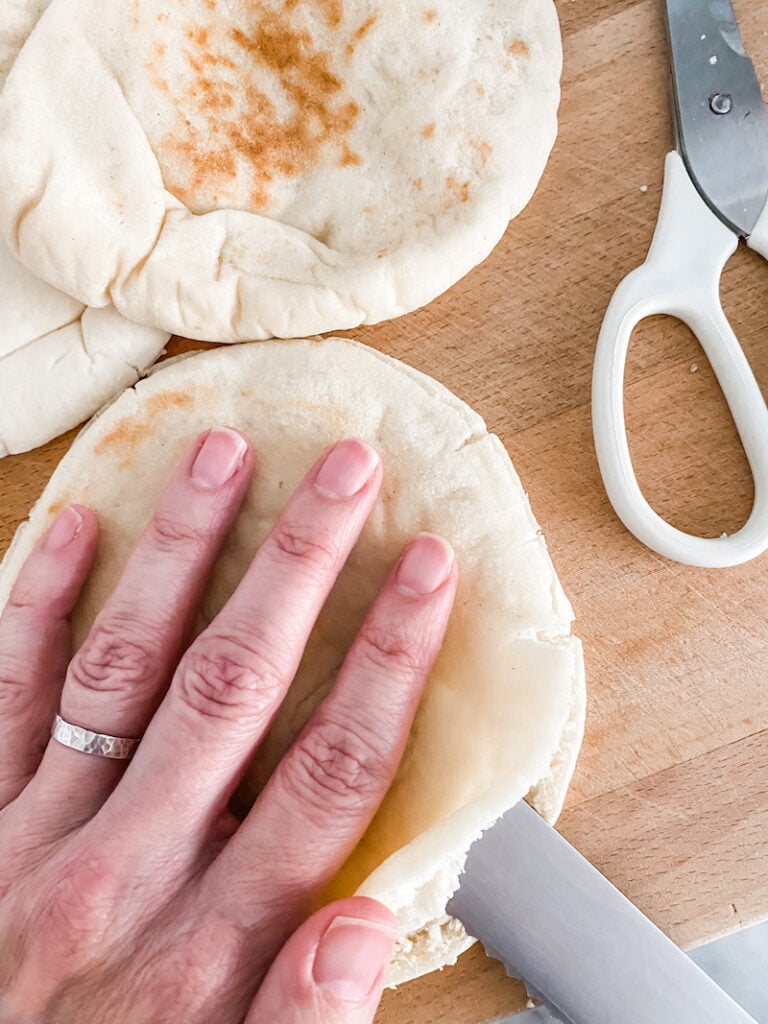
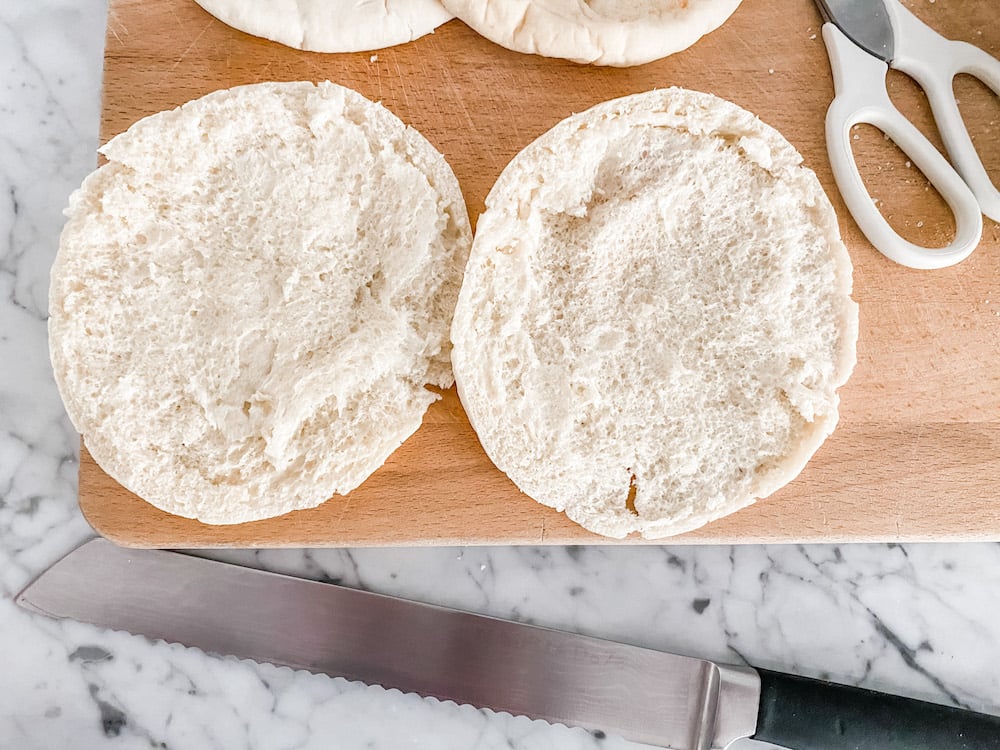
- Prepare the bread - Get a couple of 'pocket-style' pita breads and split them in half so that you have two rounds - each a single layer. These layers are thin and so they cook faster and, most importantly, it's the secret to them becoming very, very crispy.
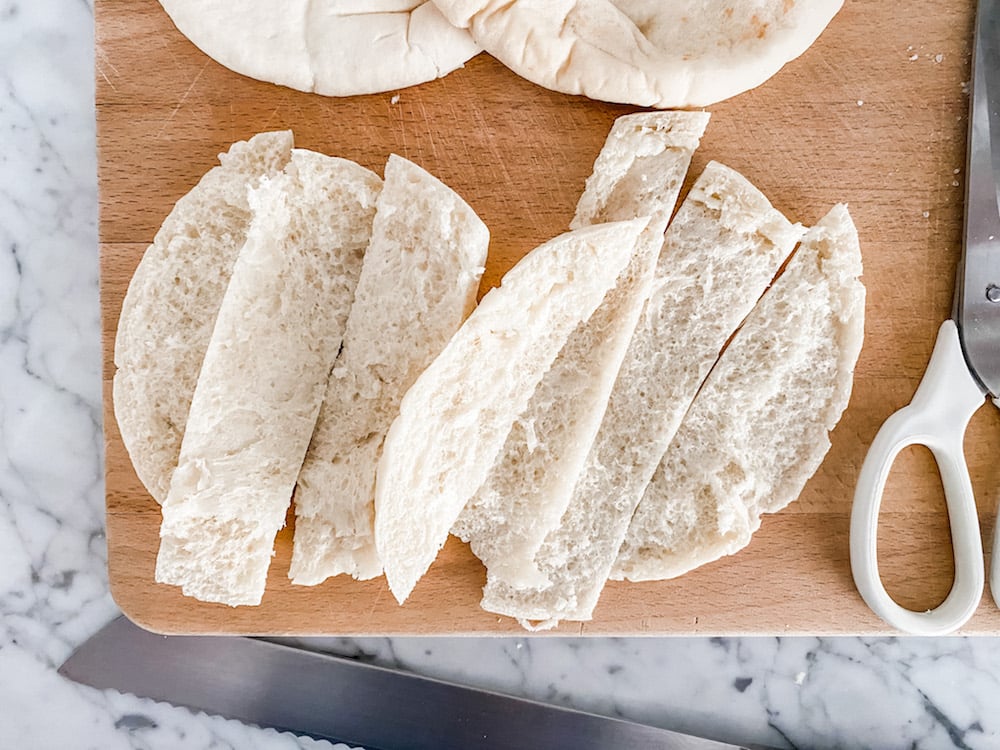
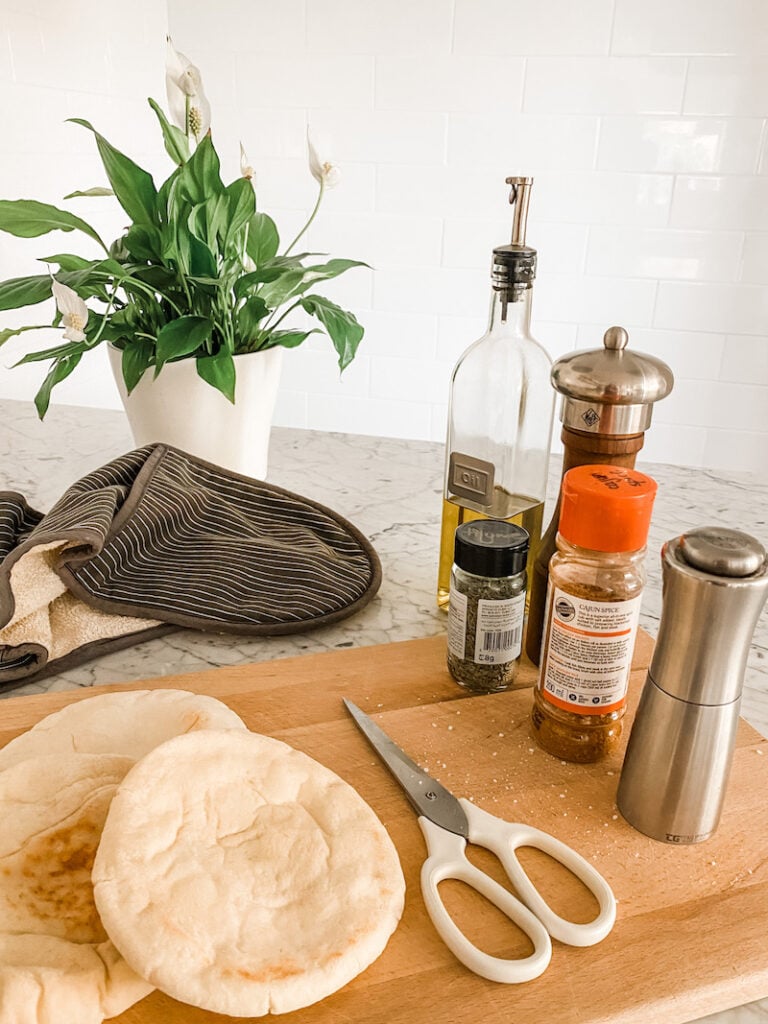
- Cut the bread - Take some scissors (I find it easier than with a knife) and cut the rounds into your chosen shape and size. When I did some research before I wrote this post, I discovered that everybody (and I mean EVERYBODY) cuts their crisps in triangles, as you would cut slices out of a pizza. I have literally never done this, or even contemplated it - which I now think may make me a bit weird - or extraordinary. You choose. I cut them in strips. I like it that way, but no rules here, so take your pick.
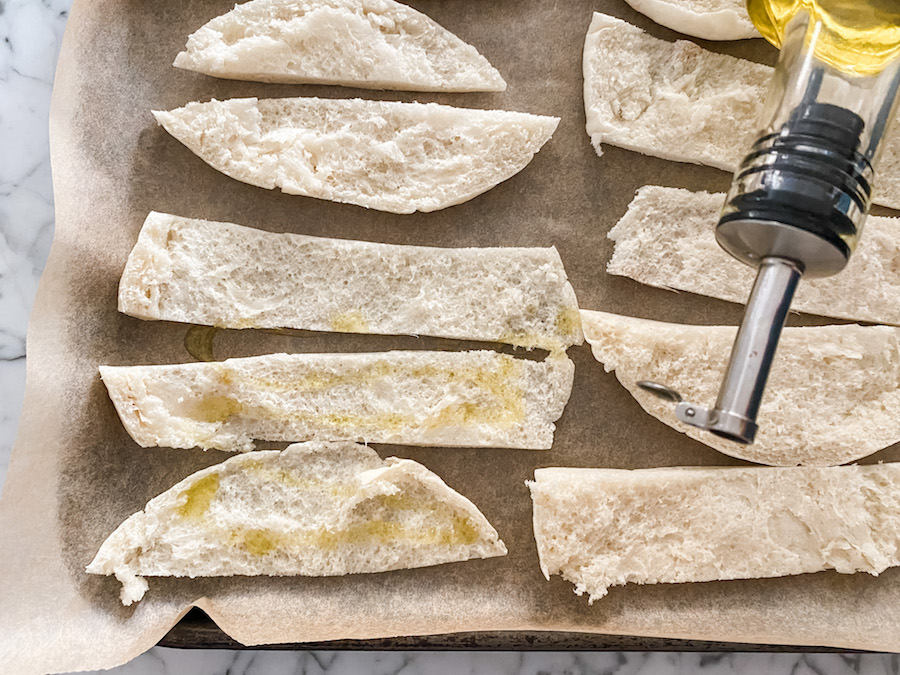
- Add the oil - Again, I'm pretty relaxed about this. You can painstakingly use a pastry brush and cover each piece thoroughly with oil, but honestly, it takes a while and I'm not convinced it makes that much difference. At the other end of the spectrum, you can drizzle (see below) - it's fast but the coverage is patchy. Or, there is my chosen hybrid method - drizzle then QUICKLY (and speed is important here) use a brush to spread the drizzled oil around just a bit - this will up the coverage level but not have it take over your life. For me this is the sweet spot. And you can also play around with the quantity of oil, to find your own sweet spot. It's personal. Flavoured oils (I'm looking at you, chilli oil) are a nice variation.
- Choose your flavourings - Here you can be creative, but there is one rule - nothing fresh, nothing wet - so no fresh herbs, pastes or pestos. This is the time to keep it simple with salt and pepper, or raid the spice rack.
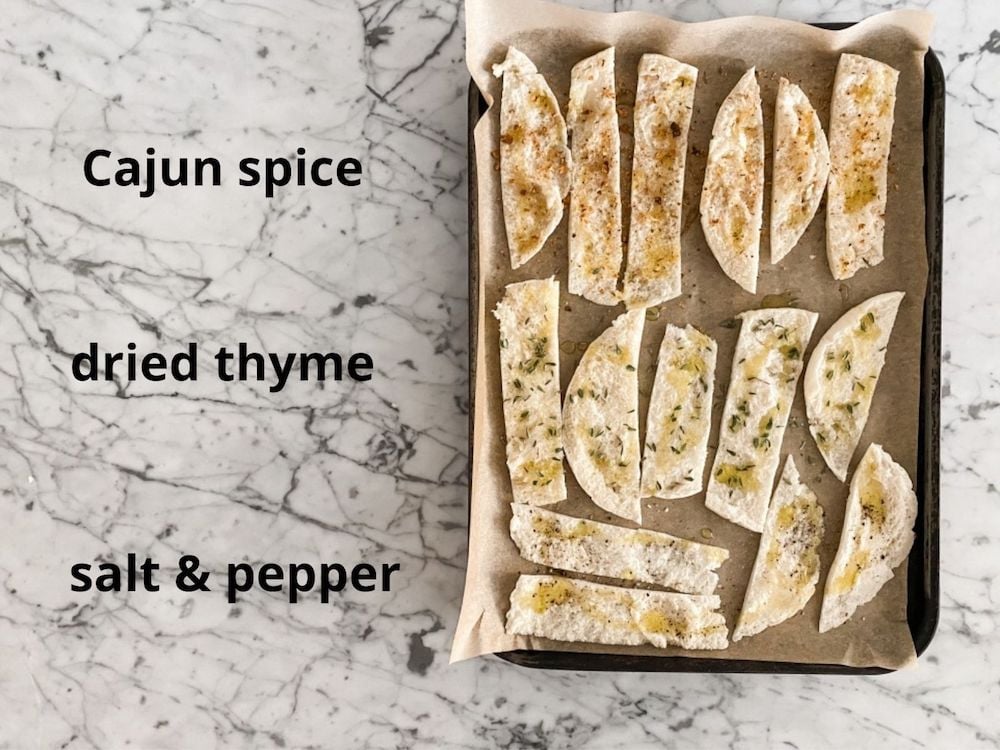
- Bake in the oven - This is where we create that crispiness, but it doesn't take long (7-8 minutes) depending on your oven and how golden you like your Pita Bread Crisps. My oven is extremely uneven, see Exhibit A.
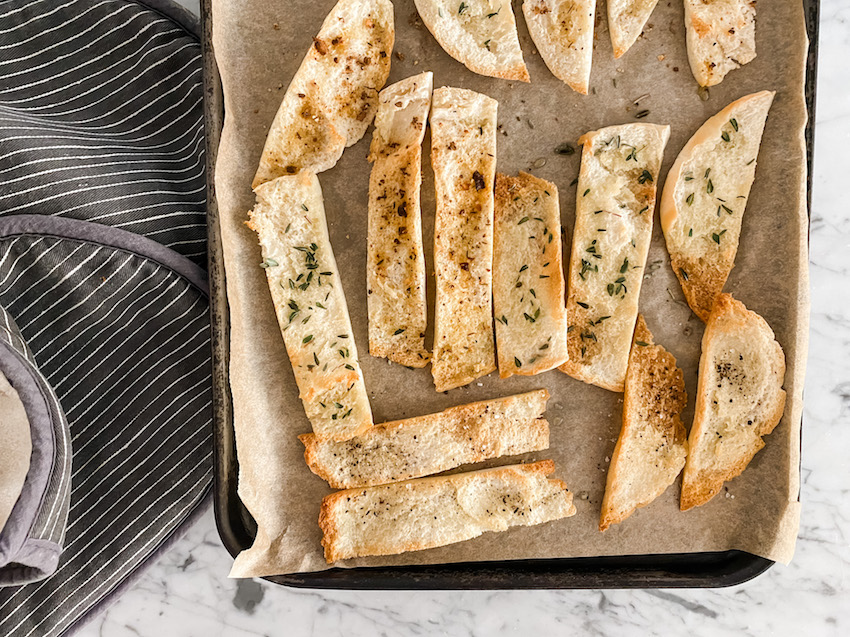
- Allow the crisps to cool - Let them cool completely when they come out of the oven and remember not to cover them until they are cold. This is key. They get more crispy as they cool too. Store in an airtight container.
And why am I confident that you and yours will love these Pita Bread Crisps?
- They are totally scrumptious and very more-ish.
- They are easy and quick to make with absolutely no fuss.
- They are a great use for leftover or tired pita breads or a good way to give fresh ones a makeover.
- You can cut them how you wish and flavour them as you choose. Indeed, they are a useful way to use up the annoying small dregs at the bottom of jars of herbs and spices. I like using cayenne pepper, oregano or smoked paprika but choose what you have in stock and what you enjoy.
- These crisps give some pizazz to dips and a pile of cut-up veggies.
- They make you look like that person who bakes homemade crackers, when effectively all you've done is made toast!
What have I learned about these Pita Bread Crisps that might be helpful to you?
There are three things that I've learned that I'd like to share -
- Don't worry if the breads break a bit in the first round of cutting. Sometimes they'll do this, particularly if they got ambushed under a tonne of heavy things in the shopping trolley - but it's part of the charm. This is a relaxed snack. There's no room for uniformity here.
- You may find it easier to give the breads a minute or so in the toaster, so that they puff up, before you split them in half.
- Make more than you think you will use. Let me repeat that. Make more than you think you will use. Without fail, I plan how I might use these as I'm making them ie 'They will be good with that chilli tonight; oh and I can fling a few with some hummus in packed lunches; they will be great as an after-school snack on Wednesday'. But this fails every, single time. They are ALWAYS inhaled within 12 hours - straight from the box. This is good stuff.
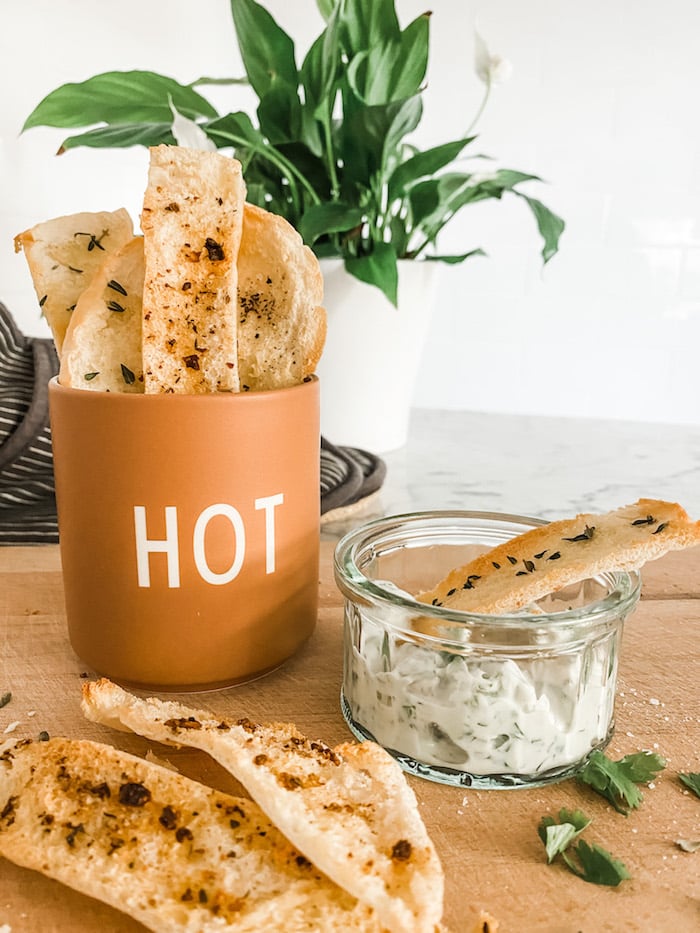
So there you have it ... These Pita Bread Crisps are a delicious snack or a useful side dish to add a new dimension (and a tasty crunch) to an ordinary meal. They pair well with a beer; they play nicely in amongst a picnic; they might make schoolwork more tolerable and they get demolished faster than a packet of chocolate digestives. You've been warned.
PrintPita Bread Crisps
These are thin, crispbreads; brushed with oil, sprinkled with seasoning and baked in the oven. Totally scrumptious. Absolutely no fuss. Very more-ish.
- Prep Time: 10 mins
- Cook Time: 7 mins
- Total Time: 17 minutes
- Yield: 32 crisps (approx) 1x
- Category: Snacks
- Method: Oven baked
- Cuisine: Western
Ingredients
4 'pocket style' pita breads
4-5 tablespoons olive oil (or you could use a flavoured oil such as chilli oil)
salt and pepper or any dried herb or spice (experiment to discover what works and which you love)
Instructions
- Preheat the oven to 200°C/180°C Fan/400°F (gas mark 6) and line 2 rimmed baking trays with parchment.
- Prepare the bread - For each bread, place it flat on a board and split it in half with a sharp knife, so that you have two rounds - each a single layer. You may find it easier to give the breads a minute or so in the toaster, so that they puff up, before you split them in half.
- Cut the bread - Take some scissors (I find it easier than with a knife) and cut the rounds into your chosen shape and size. I always cut each half into 4 strips, but this may vary depending on the size of your breads. You can also cut into triangles as you would cut a pizza. Arrange the pieces on your prepared baking trays.
- Add the oil - Use a pastry brush and cover each piece thoroughly with oil (the aim is to roughly coat each strip rather than drenching it). If you are in a rush, roughly drizzling the oil over the strips is good enough (+ you can use a brush to spread the drizzled oil around a little bit if necessary).
- Add your flavourings - Sprinkle the oiled strips with salt and pepper or your chosen herbs and spices. Do a few in each of a selection of different flavours if you wish.
- Bake in the oven - Bake in the oven for 7-8 mins or until the crisps are golden brown.
- Allow the crisps to cool - Let the crisps cool completely when they come out of the oven and remember not to cover them until they are cold. This is key. They get more crispy as they cool too. Store in an airtight container at room temperature for 2-3 days.
Notes
Make more than you think you will use. Let me repeat that. Make more than you think you will use. They are ALWAYS inhaled within 12 hours - straight from the box. This is good stuff.
Keywords: pita bread, quick, dips


