Back in January, I posted a recipe for this Lemon Layer Cake, which proved to be the perfect celebration cake for #1 teenage son's 16th birthday. I know, I know what you're thinking - how could I possibly be old enough to have a 16 year old, but there you have it ...
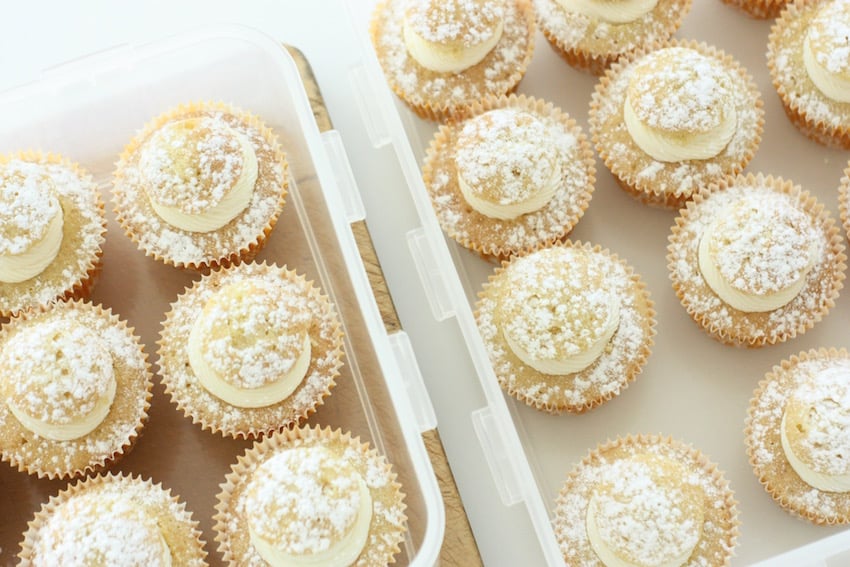
What surprised me at the time was that taking cakes into school when you're 16 is still a thing - but maybe there's always room in your life for good cake? So, I made the Lemon Layer Cake for at home and a batch of these Lemon Butterfly Cakes for #1 teenage son to take into school. These cute little cakes are seriously pretty. It's a cake with a lightness of texture and a zesty flavour. Not too lemony as to be, 'CRIKEY', but lemony enough to be fresh and not sickly. And they make you look terribly clever too, even though they are actually easy peasy.
And I asked you whether you'd also like the recipe for these mini delights and there was a resounding, 'Yes, please' - so here we go ... one recipe for Lemon Butterfly Cakes coming up.
Sometimes a big cake is what's required to create a sense of occasion and/or to accommodate a hefty number of candles, but there are also times when small is good.
Here are some of the reasons why I might opt for making these Lemon Butterfly Cakes rather than a large cake -
- Quicker to bake - 15 minutes ... tops, in the oven. Bish, bash, bosh.
- Loads easier to serve - no knife required, no cutting, no need for a plate, no need for forks, less mess.
- Easier for little mouths to manage - and some would say big mouths too.
- Less troublesome to transport - even just finding a cake box big enough for a large cake can be awkward.
- Portion control is a breeze - you need to feed 20 people, so you make 20 cupcakes. Done. Unless anyone sneaks a second one.
- They just look so cute - and you can match the paper case to the occasion. Or to your cake. Or to your plates. Or to your frock. Or maybe your wallpaper...
Cupcakes never need an occasion, so what are you waiting for? Grab those paper cases and get baking these delicious Lemon Butterfly Cakes.

If you liked this, you might also enjoy this exclusive chocolaty subscriber recipe -
PrintLemon Butterfly Cakes
These cute little cakes are seriously pretty. It's a sponge with a lightness of texture and a zesty flavour - and surprisingly easy too ...
- Prep Time: 45 mins
- Cook Time: 15 mins
- Total Time: 1 hour
- Yield: 24 1x
- Category: Cakes
- Method: Oven baked
- Cuisine: British
Ingredients
For the cakes -
- 280g (10oz) margarine or soft butter
- 280g (10oz) caster sugar
- the finely grated zest of 1 large or 2 small lemons
- 5 large eggs
- 280g (10oz) SR flour
- 1 tablespoon boiling water
- 2-3 heaped tablespoons lemon curd
For the cream cheese frosting -
- 85g (3oz) cream cheese
- 50g (2oz) soft butter
- 1 teaspoon vanilla extract
- 450g (1lb) icing sugar
- You will also need -
- 2 x cupcake tins (each with 12 holes) - mine have diameters of 6.5cm (2½ inches approx)
- 24 paper cases (5cm diameter)
Instructions
- Preheat the oven to 180°C / 160°C / 350°F (gas mark 4).
- Begin by lining two cupcake tins (each with 12 holes) with paper cases.
- Weigh the butter and caster sugar into a large mixing bowl. Now using an electric mixer, cream the butter and sugar until it is light and fluffy and has become a lighter colour. This will take around 5 minutes.
- Break each egg individually into a cup (just in case any of them have gone bad - trust me it does happen). This also means it is easier to fish out any stray bits of shell. Add each egg, one at a time to the mixture.
- Now weigh the SR flour into a bowl and add this to the cake mixture.
- Add the lemon zest to the bowl.
- Beat the mixture until everything is well combined. You may need to use a spatula to 'clean' the edges of the bowl and to make sure that everything is thoroughly mixed.
- Now add a tablespoon of boiling water to the mixture and fold gently to combine.
- Divide the mixture between the 24 paper cases and bake in the oven for 13-15 minutes or until the centre of the cakes is springy to the touch.
- While the cakes are baking, get on with making the filling. Beat together the cream cheese, soft butter and vanilla extract until light and fluffy. Gradually add the icing sugar, beating after each addition. Use the frosting to fill a piping bag.
- When the cakes are ready, remove them from the oven and allow them to cool on a rack. Be sure that the cakes are COMPLETELY cold before decorating them.
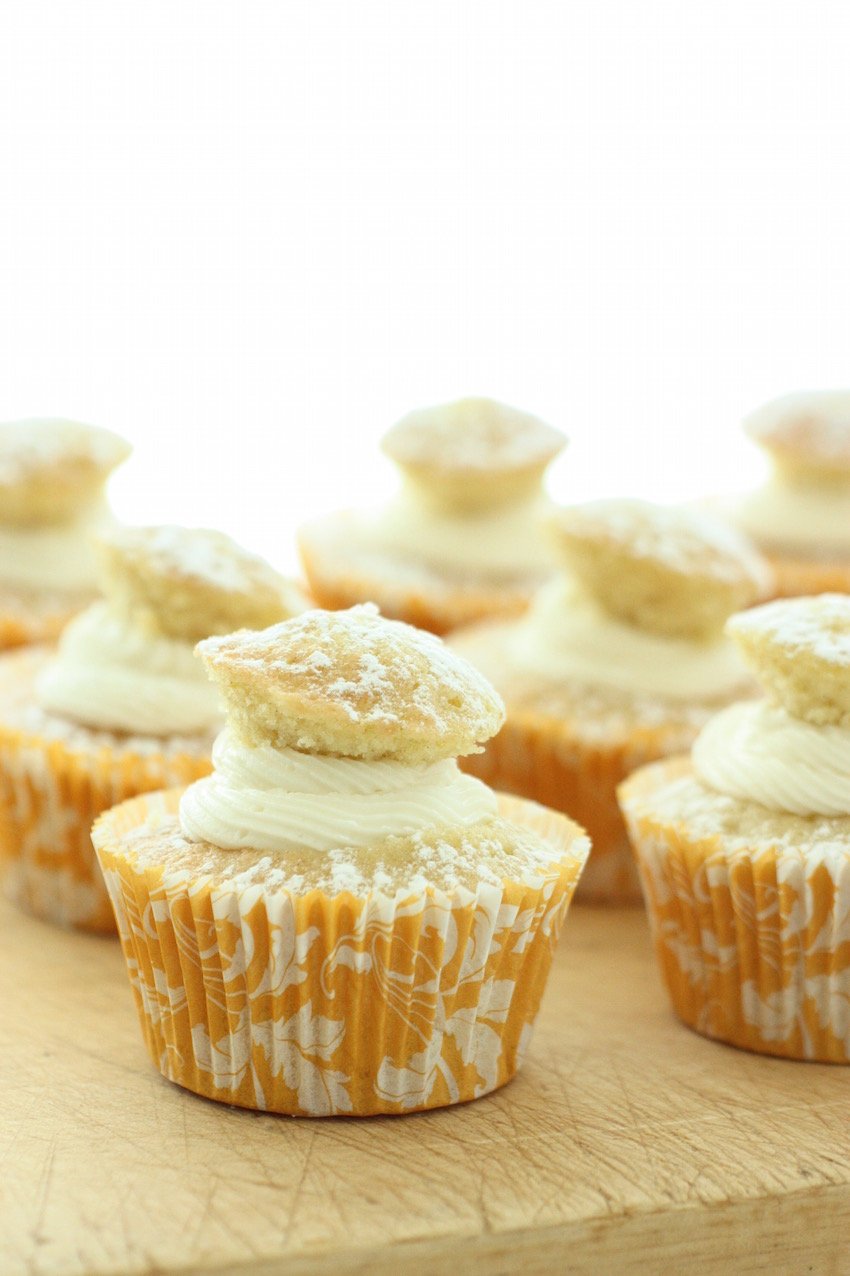
- Use a small, sharp knife to carefully cut a circular piece out of the top of each cake. Your aim is to get a neat, round piece of cake that creates a hole with a depth just less than half way down the depth of the cake.
- Spoon half a teaspoon of lemon curd into the bottom of each hole and pipe a swirl of frosting on the top (use a spoon for this if you'd prefer). Now for each cake, place the small piece of cake back on the top of the frosting (like a hat) and press it down slightly. Finish by dusting the top of each cake with icing sugar - use a sieve or an icing sugar shaker for this.
Notes
I used a piping bag to create a lovely finish with the frosting but a teaspoon would also work fine. You probably won't use the whole quantity of cream cheese frosting but any leftovers will keep nicely in the freezer, in a sealed container, for up to 3 months.
Keywords: celebration, birthday, summer


