I've been thinking about this cake for a while and finally this weekend it happened, in all its chocolatey, colourful cuteness. It's a playful chocolate cake that looks as adorable as it tastes and won't absorb hours in the kitchen to bring it to life.
My plans for this Cute Weekend Chocolate Cake went like this -
- The shape - It needed to be rectangular (strictly speaking should it, therefore, be called a traybake?) and to be reminiscent of the chocolate cake that my childhood friend's Mum used to make for birthday parties - some unexpected memories really do endure! Her trademark was to adorn the cake with a fluorescent green, mint flavoured buttercream, which I remember loving. Don't worry, I think time and tastes have moved on since then, so I'm leaving that style of topping well alone …
- The size - I wanted a cake that would cook quickly and wasn't so big that we'd end up sick to death of it (note - life is different without teenage boys to hoover up all scraps of food, delicious or otherwise).
- The frosting - I wanted swirls of light chocolate frosting (with no hint of mint). I was intrigued by how my Chocolate Ganache would behave if I were to whip it, to make a light, fluffier frosting; paler and more 'everyday' than its rich, glossy sibling.
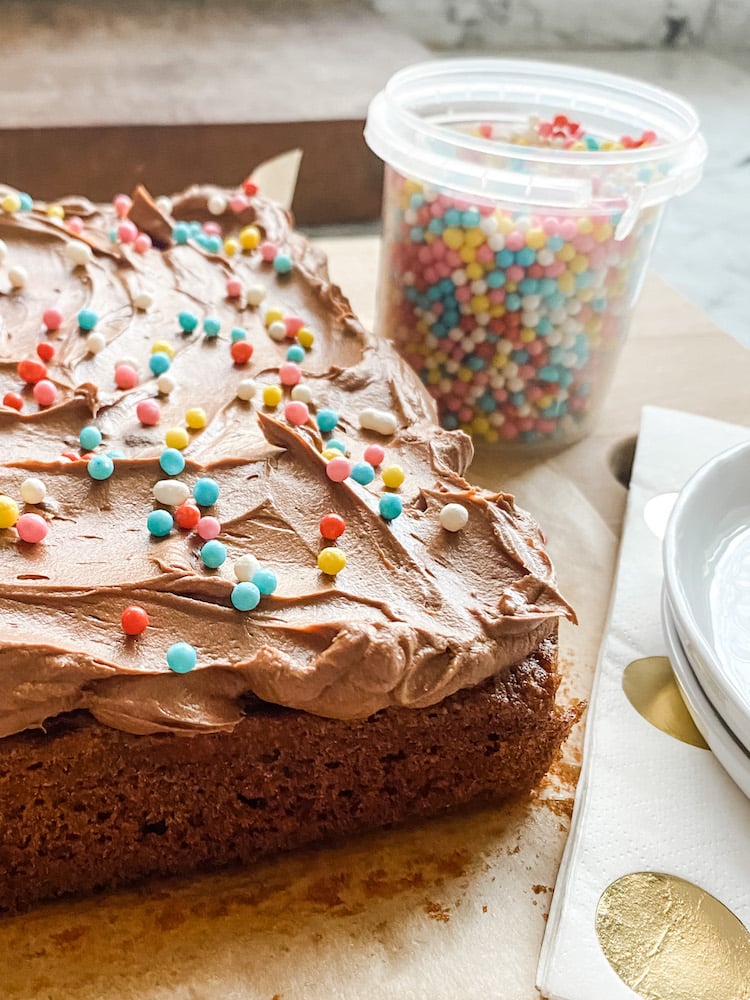
- The sprinkles - Honestly, I'm not often a fan, but this cake felt as though it needed colour and fun in order to scream, 'I'm a CUTE WEEKEND CHOCOLATE CAKE and I don't care who knows it'.
This recipe is not 'new' but I value the idea of not reinventing the wheel when you already have a gorgeous cake recipe that can be adapted for all sorts of delicious variations - Easy Chocolate Cake, Perfect Chocolate Cupcakes, Lemon Layer Cake, Lemon Butterfly Cakes, Coffee and Chocolate Layer Cake and a Classic Victoria Sponge.
FULL DISCLOSURE - the first attempt at this cake was disappointing. The quantities were too big, the tin too large, it was soggy in the middle and sank into a crater that needed filling with an excessive amount of frosting. The approach that I used for the whipped ganache was problematic and although we soldiered through the eating of the frosted crater cake, (it was only just 'this side of tolerable' with ice cream) it left me unmoved. I had also decorated it with Mini Eggs (loving those Easter vibes) but soon discovered that Mini Eggs go really weird and slimy when they have lounged around on wet frosting for a few hours. Not pretty and back to the drawing board. But there was light at the end of the tunnel …

How I made this (successful) Cute Weekend Chocolate Cake
- Grease and line a 17 x 26 x 4cm (6 ½ x 10 x 1 ½ inch) rectangular cake tin.
- Make a small quantity of Chocolate Ganache (I used 110g/4oz of each of semi-sweet chocolate chips and double/whipping cream). Allow it to cool and put it in the fridge to slightly thicken. Check on it every now and then, while you bake the cake - when it is starting to thicken but is not fully solid, give it a good whisk with an electric handwhisk until the colour lightens and it has a fluffy consistency (around 3-5 minutes depending on the strength of your motor and the vigour of your whisking).
- Preheat the oven to 180°C/160°C Fan/350°F (gas mark 4).
- Cream the butter/margarine and caster sugar in a large bowl until light and fluffy. Add 3 eggs, 1 tablespoon cocoa powder and the Self Raising flour and mix well.
- Finally add ½ tablespoon golden syrup and combine thoroughly.
- Spread the mixture in the prepared tin and bake in the preheated oven for 20-25 minutes or until the cake is springy in the centre.

- Let the cake cool and then remove it from the tin to get completely cold.
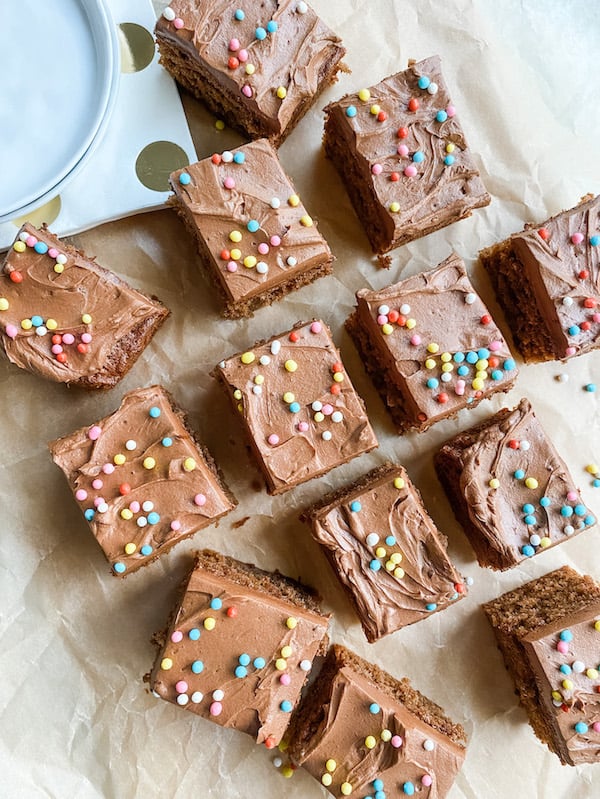
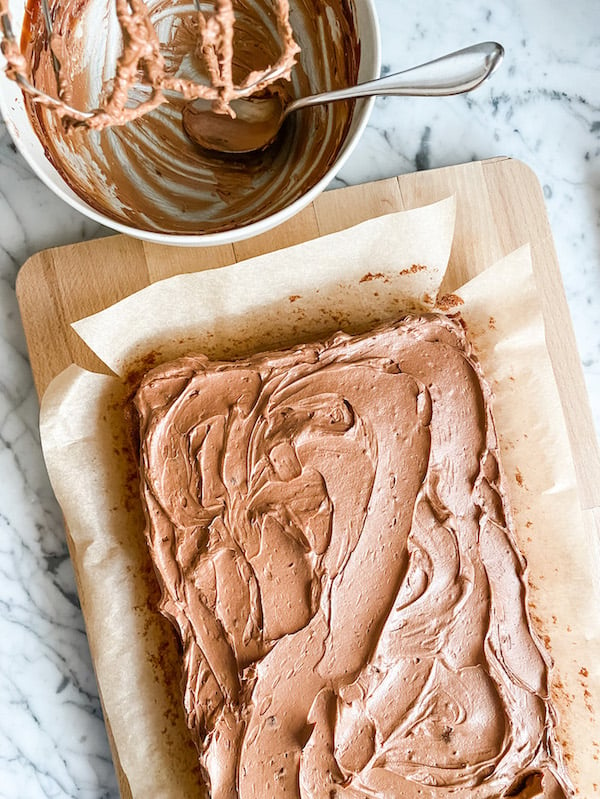
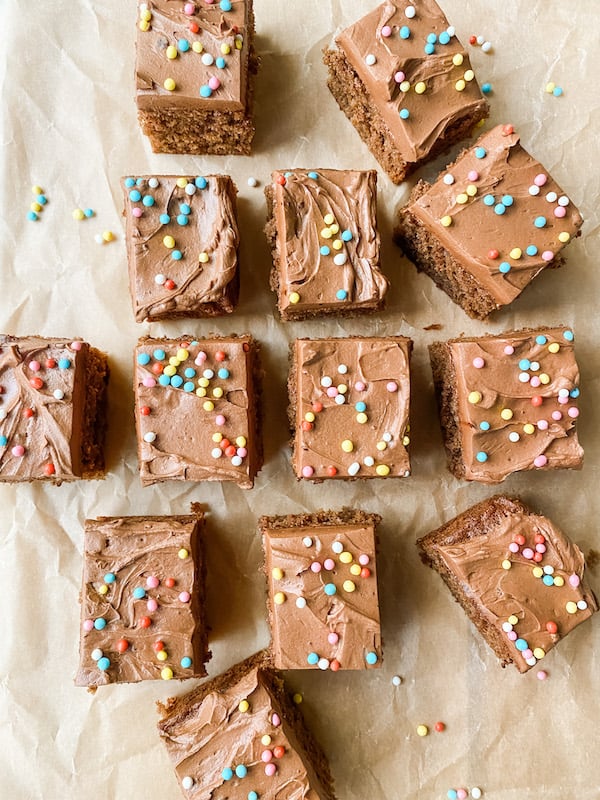
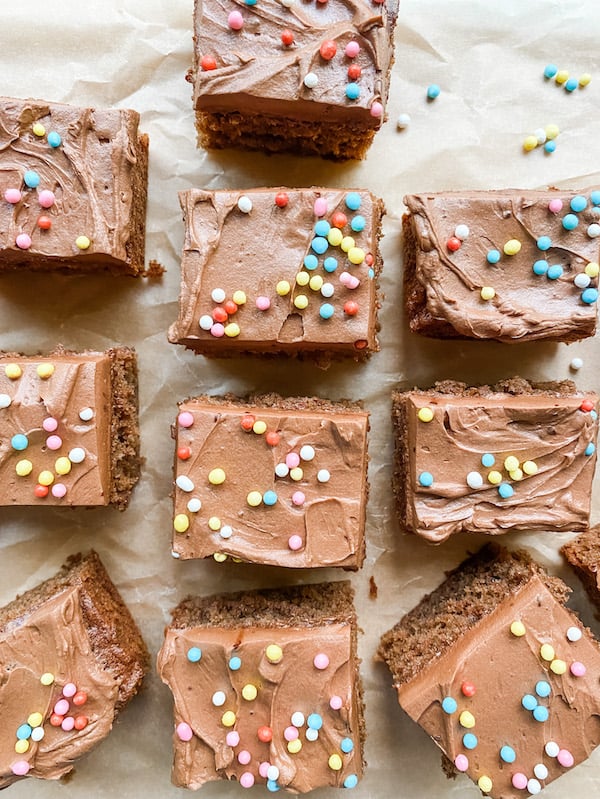
- Swirl the whipped chocolate ganache over the top of the cake and liberally add the sprinkles.
- Use a sharp knife to cut the cake into 15-18 pieces.
What I learned when I made this Cute Weekend Chocolate Cake
- Once I'd got the quantities and tin size right, this cake was a breeze.
- If you don't have a rectangular tin, a round 8" cake would also work.
- It's a good idea to make the Chocolate Ganache before you even start on the cake so it will have time to chill and thicken in the fridge and then be ready for whipping (aka less hanging around). If it gets too stiff in the fridge, bring it out into the kitchen to warm slightly and whip it when it's sufficiently softened.
- The hotter the ganache is when it is fully melted and combined the longer it will take to cool and chill ready for whipping.
- My sprinkles lost their colour a little once the cake had been sitting overnight. If I was making this for an occasion, I would add the sprinkles just before serving.
- I applied the frosting with a dessert spoon and used the back of the spoon to create the swirls.
- The cake stores nicely in an airtight tin at room temperature for 2 or 3 days. You can chill it, if you prefer, but the frosting will harden.
Why I'm certain that you will love this cake
- This is a quick, no drama cake.
- It's light and fluffy and tastes delicious.
- It's easy to cut and transport.
- It's also a really versatile cake - Birthday? Just add candles. Bake sale at school or work? Lay out the pieces on a disposable foil tray. Afternoon tea? Put the kettle on. Weekend treat? Pair it with a glass of something cold. Dessert? Add vanilla ice cream.
I'm not sure why little squares of chocolate cake might appeal to me more than, say a traditional slice or a cupcake, but today they do and I'm embracing that + newfound respect for the joy of sprinkles.
PrintCute Weekend Chocolate Cake

This is a playful chocolate cake that looks as adorable as it tastes and won't absorb hours in the kitchen to bring it to life. It's also really versatile - Birthday? Just add candles. Bake sale at school or work? Lay out the pieces on a disposable foil tray. Afternoon tea? Put the kettle on. Weekend treat? Pair it with a glass of something cold. Dessert? Add vanilla ice cream.
- Prep Time: 40 mins
- Chilling time for Ganache: 1 hour
- Cook Time: 25 mins
- Total Time: 2 hours 5 minutes
- Yield: 15 1x
- Category: Cakes
- Method: Baking
Ingredients
For the Whipped Chocolate Ganache -
- 110g (4oz) semi-sweet chocolate chips
- 110g (4oz) double/whipping cream
For the cake -
- 175g (6oz) soft butter or margarine, NOT low fat or 'spreadable' + a little extra for greasing the tin
- 175g (6oz) caster sugar
- 3 eggs
- 1 tablespoon cocoa powder
- 165g (5 ½ oz) self raising flour
- ½ tablespoon golden syrup
You will also need -
- 17 x 26 x 4cm (6 ½ x 10 x 1 ½ inch) rectangular cake tin.
- An electric hand whisk or similar.
Instructions
Make the Whipped Chocolate Ganache
- There are detailed instructions for making ganache here. Increasingly, I just put the chocolate chips and the cream into a microwaveable bowl and gently heat in the microwave, stirring at regular intervals until the mixture is fully melted and glossy. Choose whichever technique you are most comfortable with.
- Allow the ganache to cool and put it in the fridge to slightly thicken. Check on it every now and then, while you bake the cake.
- When it is starting to thicken but is not fully solid, give it a good whisk with an electric hand whisk until the colour lightens and it has a fluffy consistency (around 3-5 minutes depending on the strength of your motor and the vigour of your whisking). It is now ready for frosting the cake.
Bake the cake -
- Preheat the oven to 180°C/160°C Fan/350°F (gas mark 4) and grease and line the rectangular cake tin.
- Cream the butter/margarine and caster sugar in a large bowl until light and fluffy.
- Add 3 eggs, 1 tablespoon cocoa powder and the Self Raising flour and mix well.
- Finally add ½ tablespoon golden syrup and combine thoroughly.
- Spread the mixture in the prepared tin and bake in the preheated oven for 20-25 minutes or until the cake is springy in the centre.
- Let the cake cool and then remove it from the tin to get completely cold.
- Swirl the whipped chocolate ganache over the top of the cake and liberally add the sprinkles.
- Use a sharp knife to cut the cake into 15-18 pieces.
Notes
- If you don't have a rectangular tin, a round 8" cake would also work.
- It's a good idea to make the Chocolate Ganache before you even start on the cake so it will have time to chill and thicken in the fridge and then be ready for whipping (aka less hanging around). If it gets too stiff in the fridge, bring it out into the kitchen to warm slightly and whip it when it's sufficiently softened.
- My sprinkles lost their colour a little once the cake had been sitting overnight. If I was making this for an occasion, I would add the sprinkles just before serving.
- The cake stores nicely in an airtight tin at room temperature for 2 or 3 days. You can chill it, if you prefer, but the frosting will harden.
Keywords: everyday, celebration, easy, baking